Extension to the Omlet Chicken coop
Another DIY project
We've had the chickens for over six months, and we found that the Omlet Chicken coop we have is a bit small for all three of them to stay in all the time. We used the netting to partition off the garden and that was great for a while, until the chickens became expert escape artists. Luckily we have nice neighbours, but it was still a pain getting home from work over the winter, in the dark, to find that all the chickens has escaped and were hidden on other peoples gardens. A solution was needed so I embarked on my most ambitious DIY project yet....a chicken coop extension.
The beginnings..
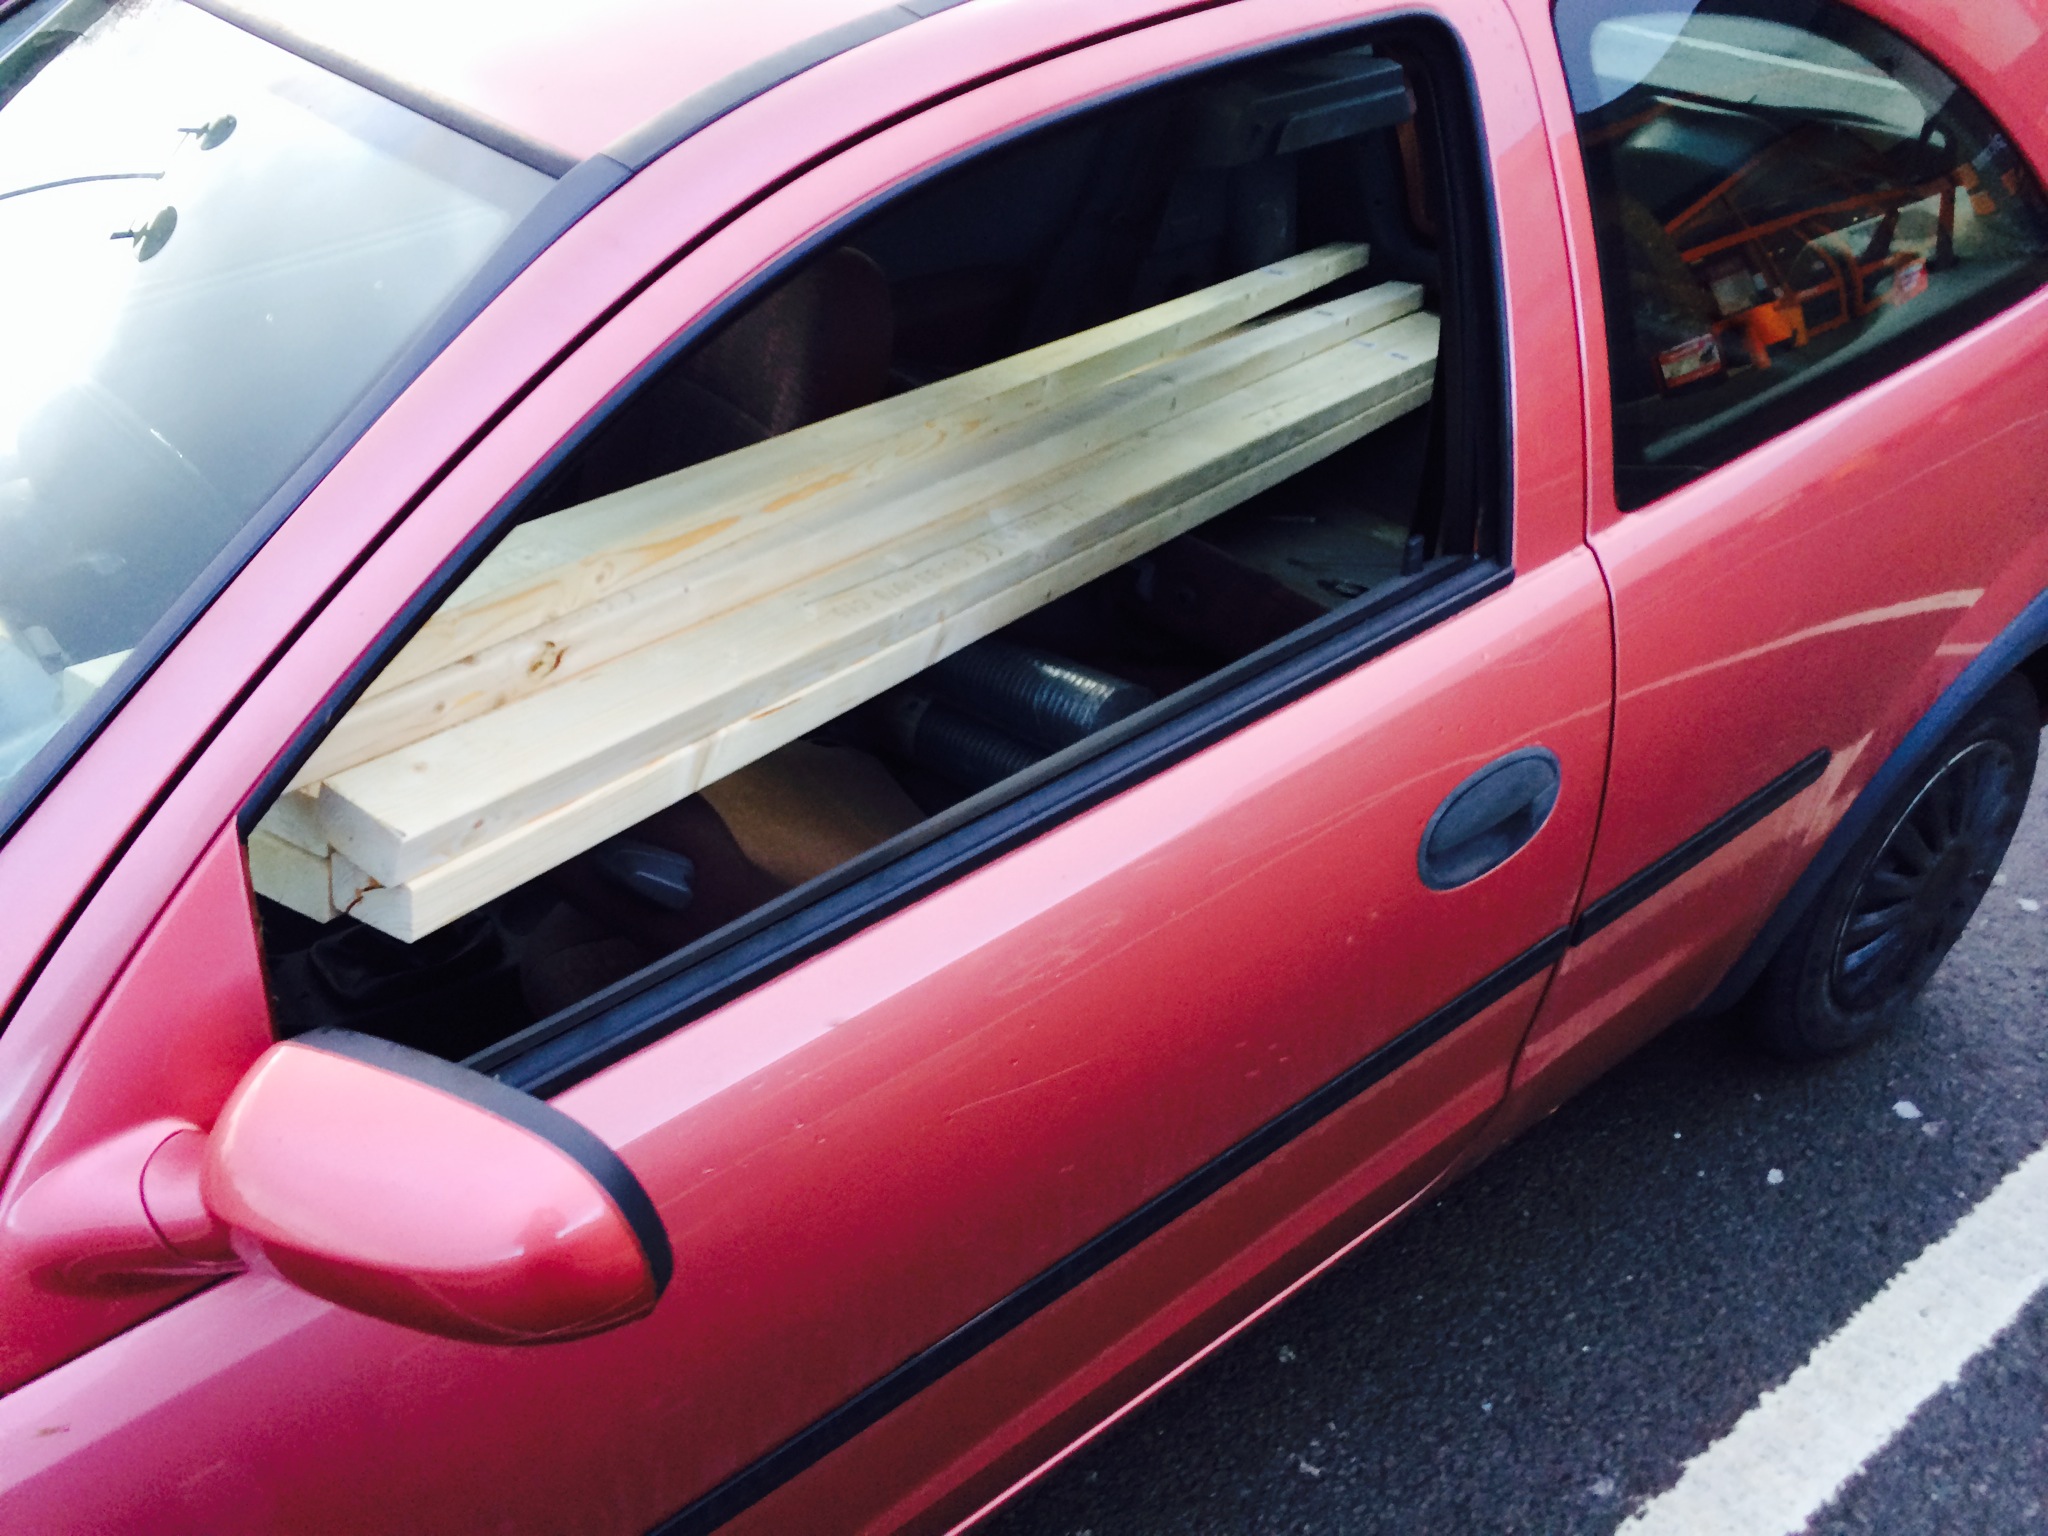
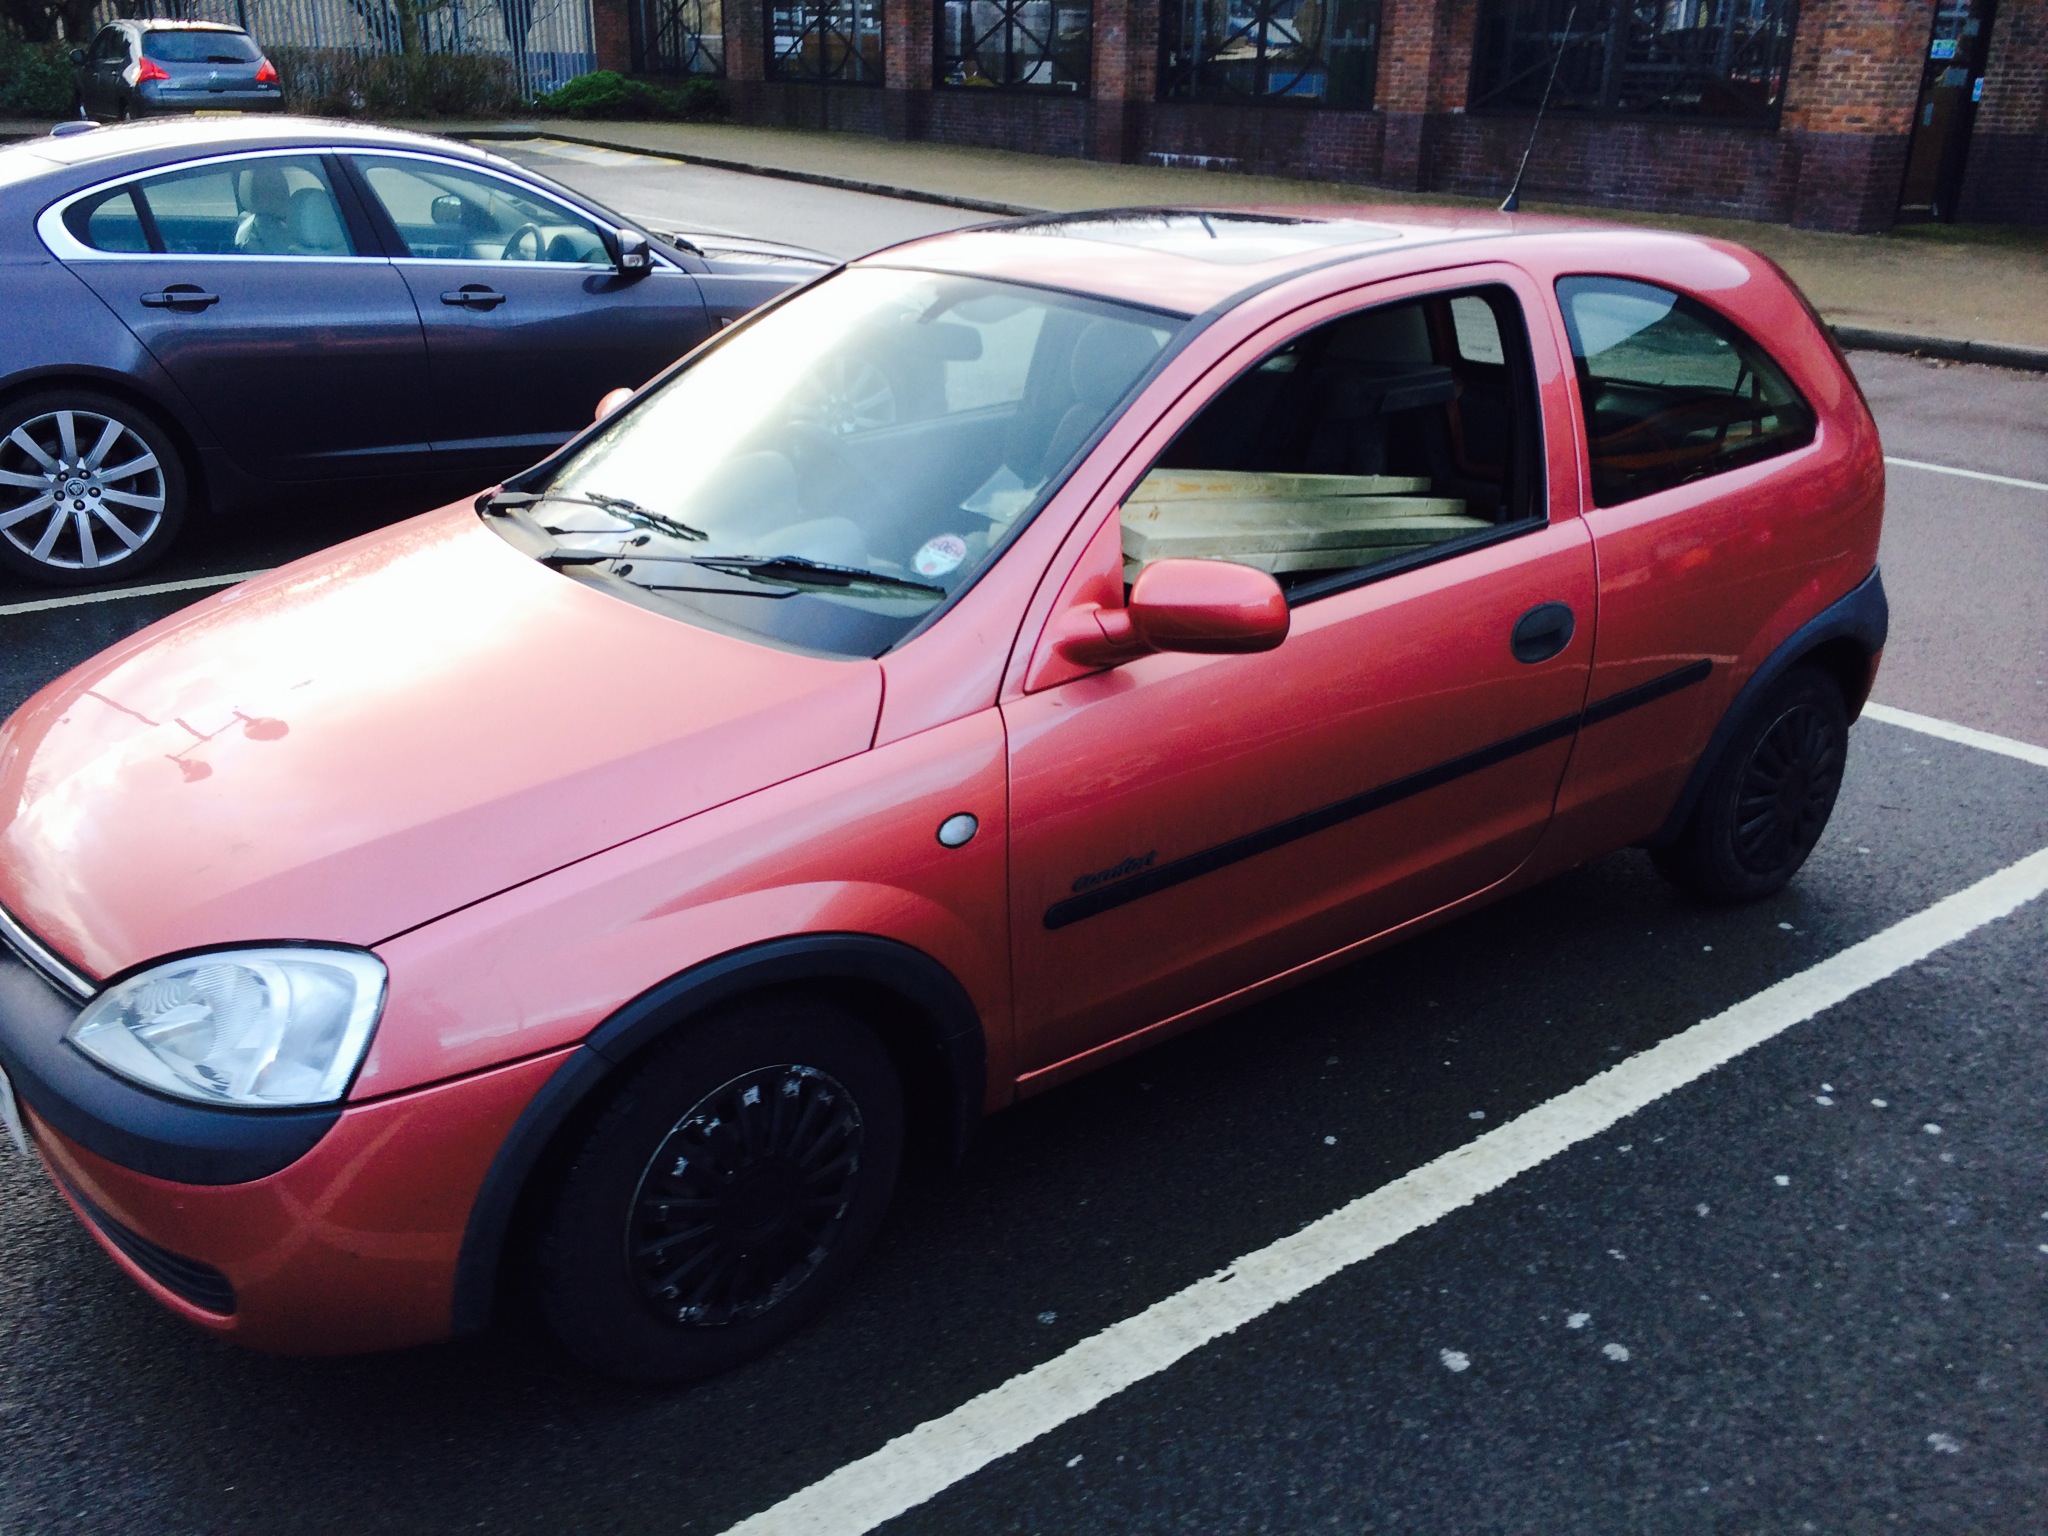
Using my next door neighbours car, which I had been given the keys for, I bought 10 lengths of 18x66x2400mm wood, a tin of outdoor paint, two rolls of chicken wire and a box of very long (120mm) screws.
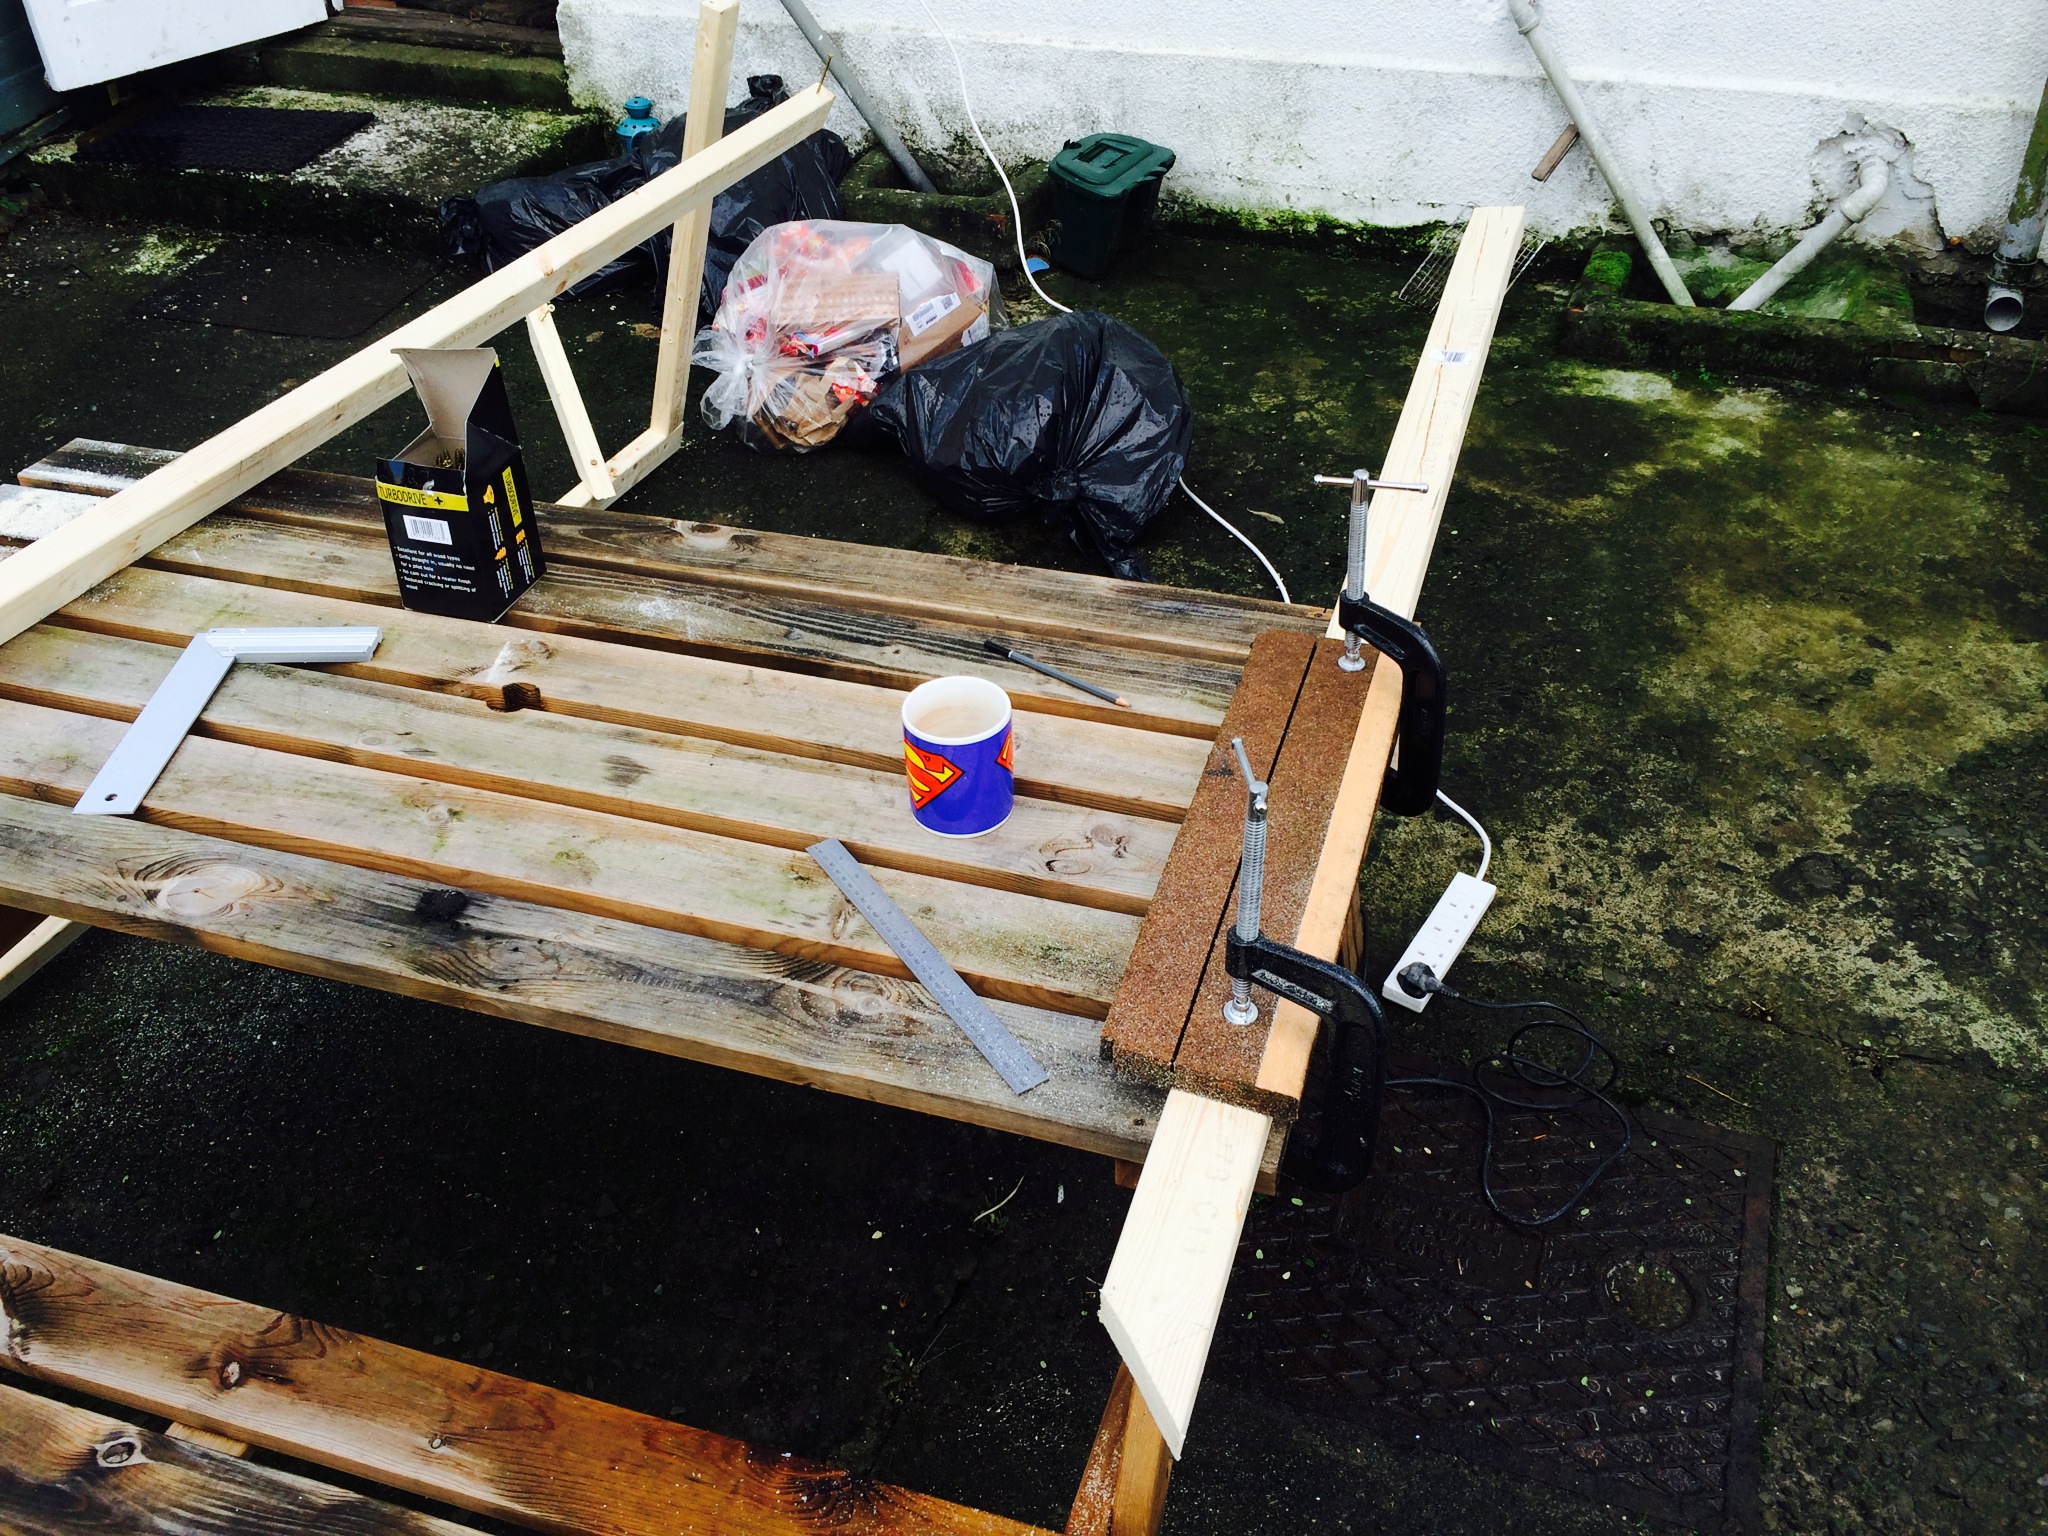
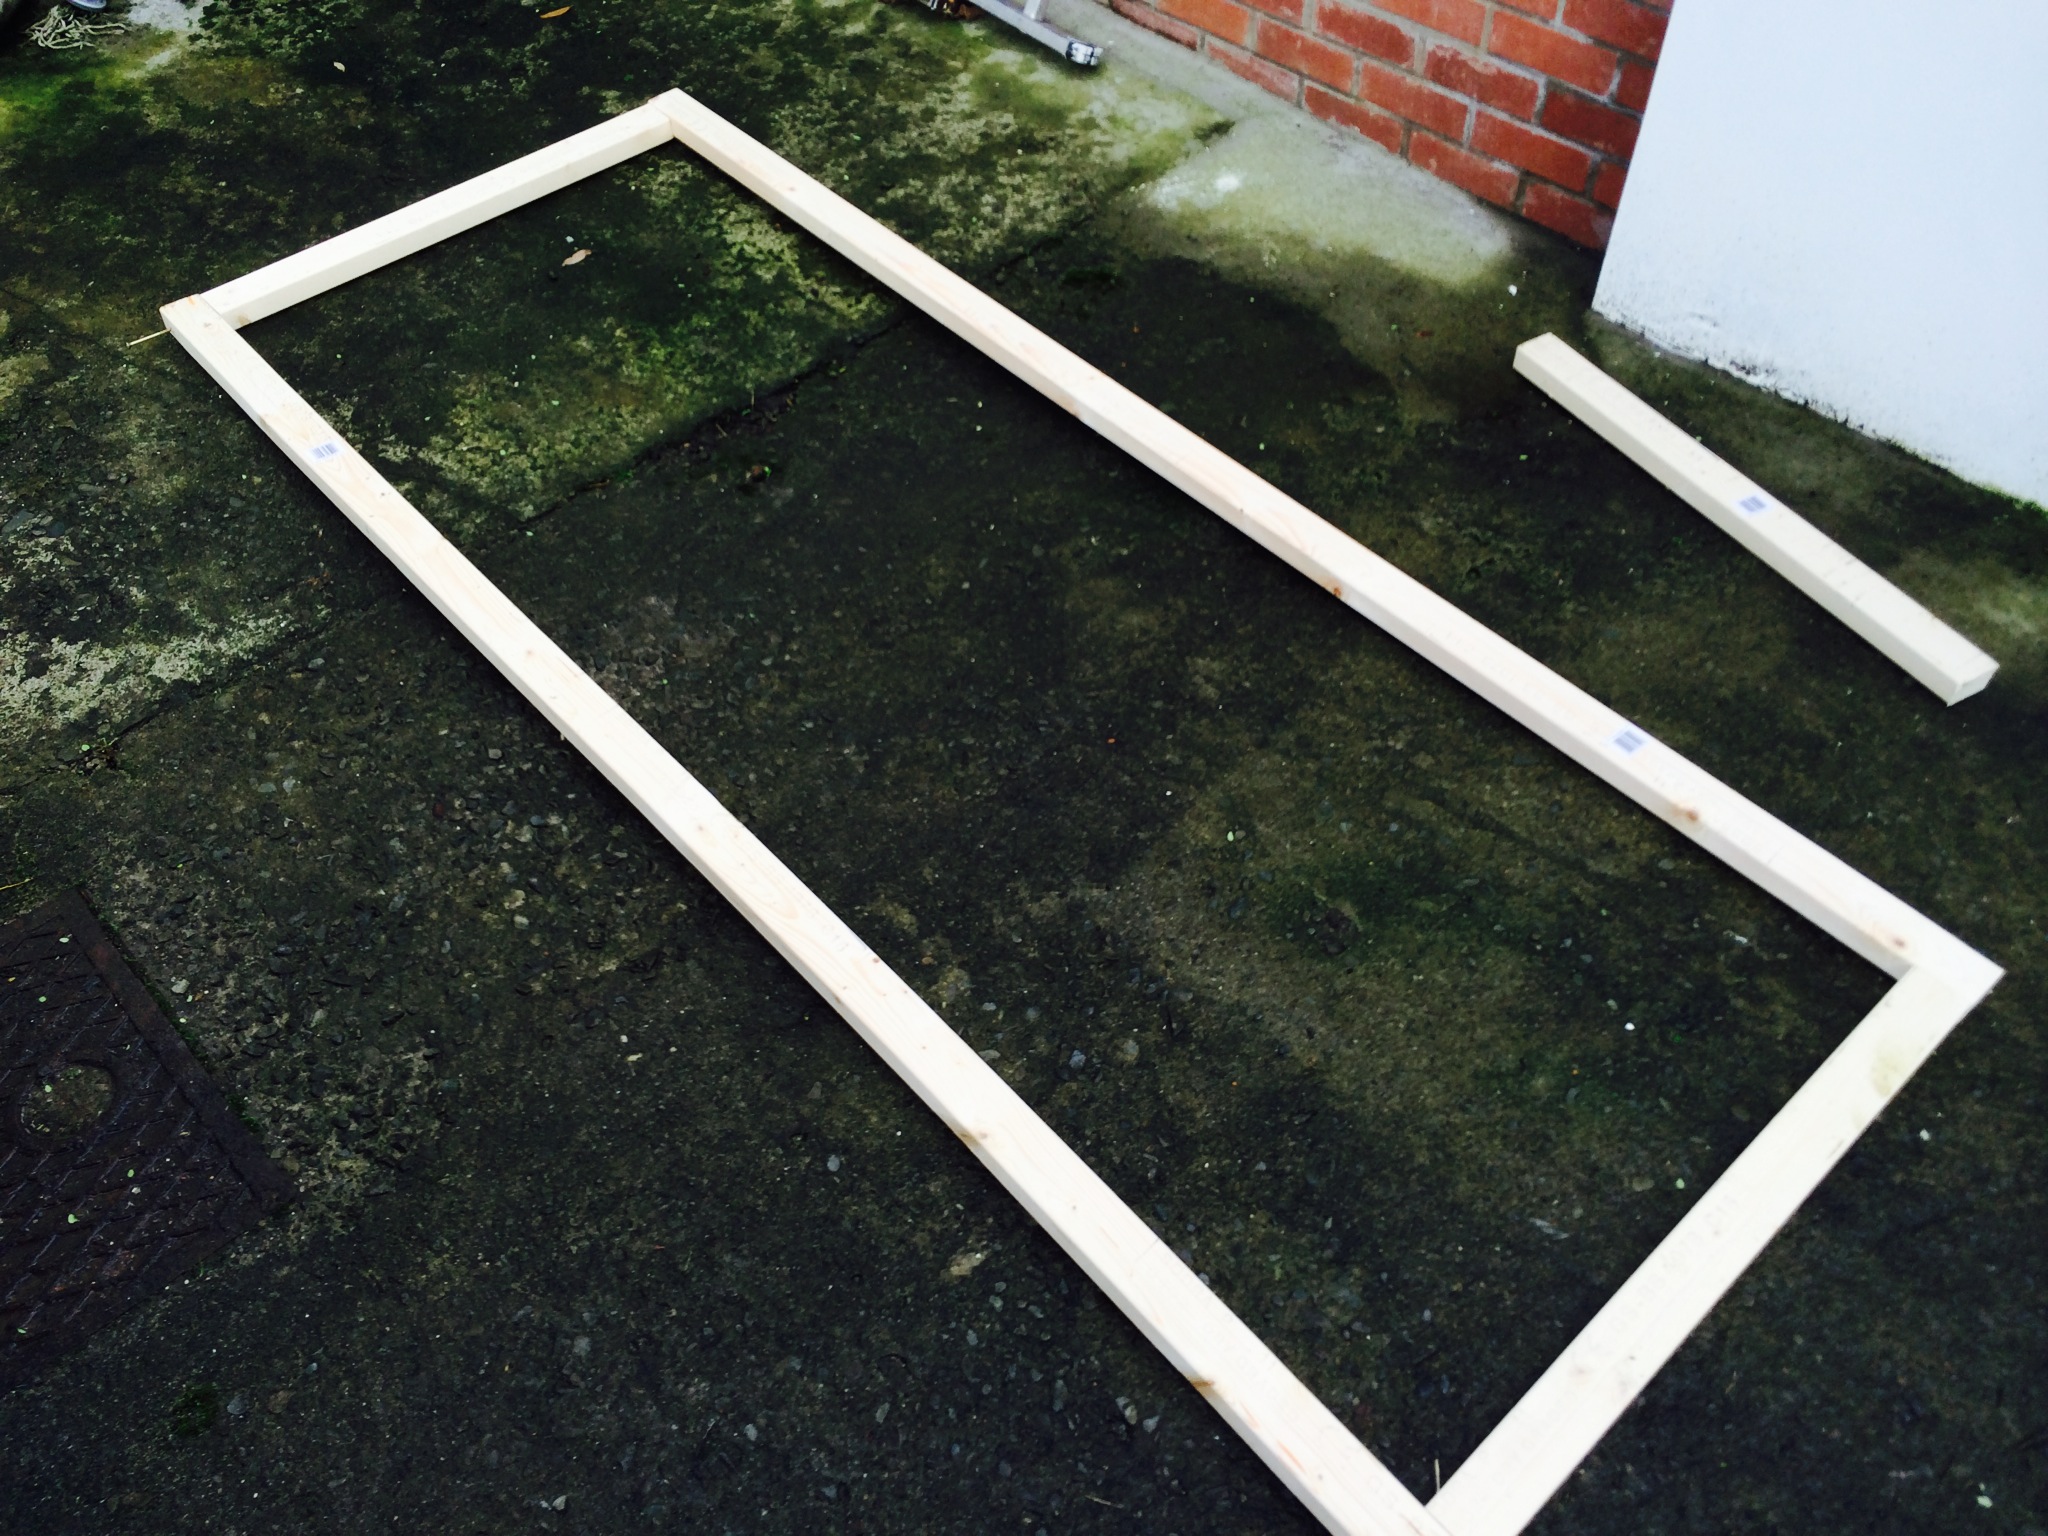
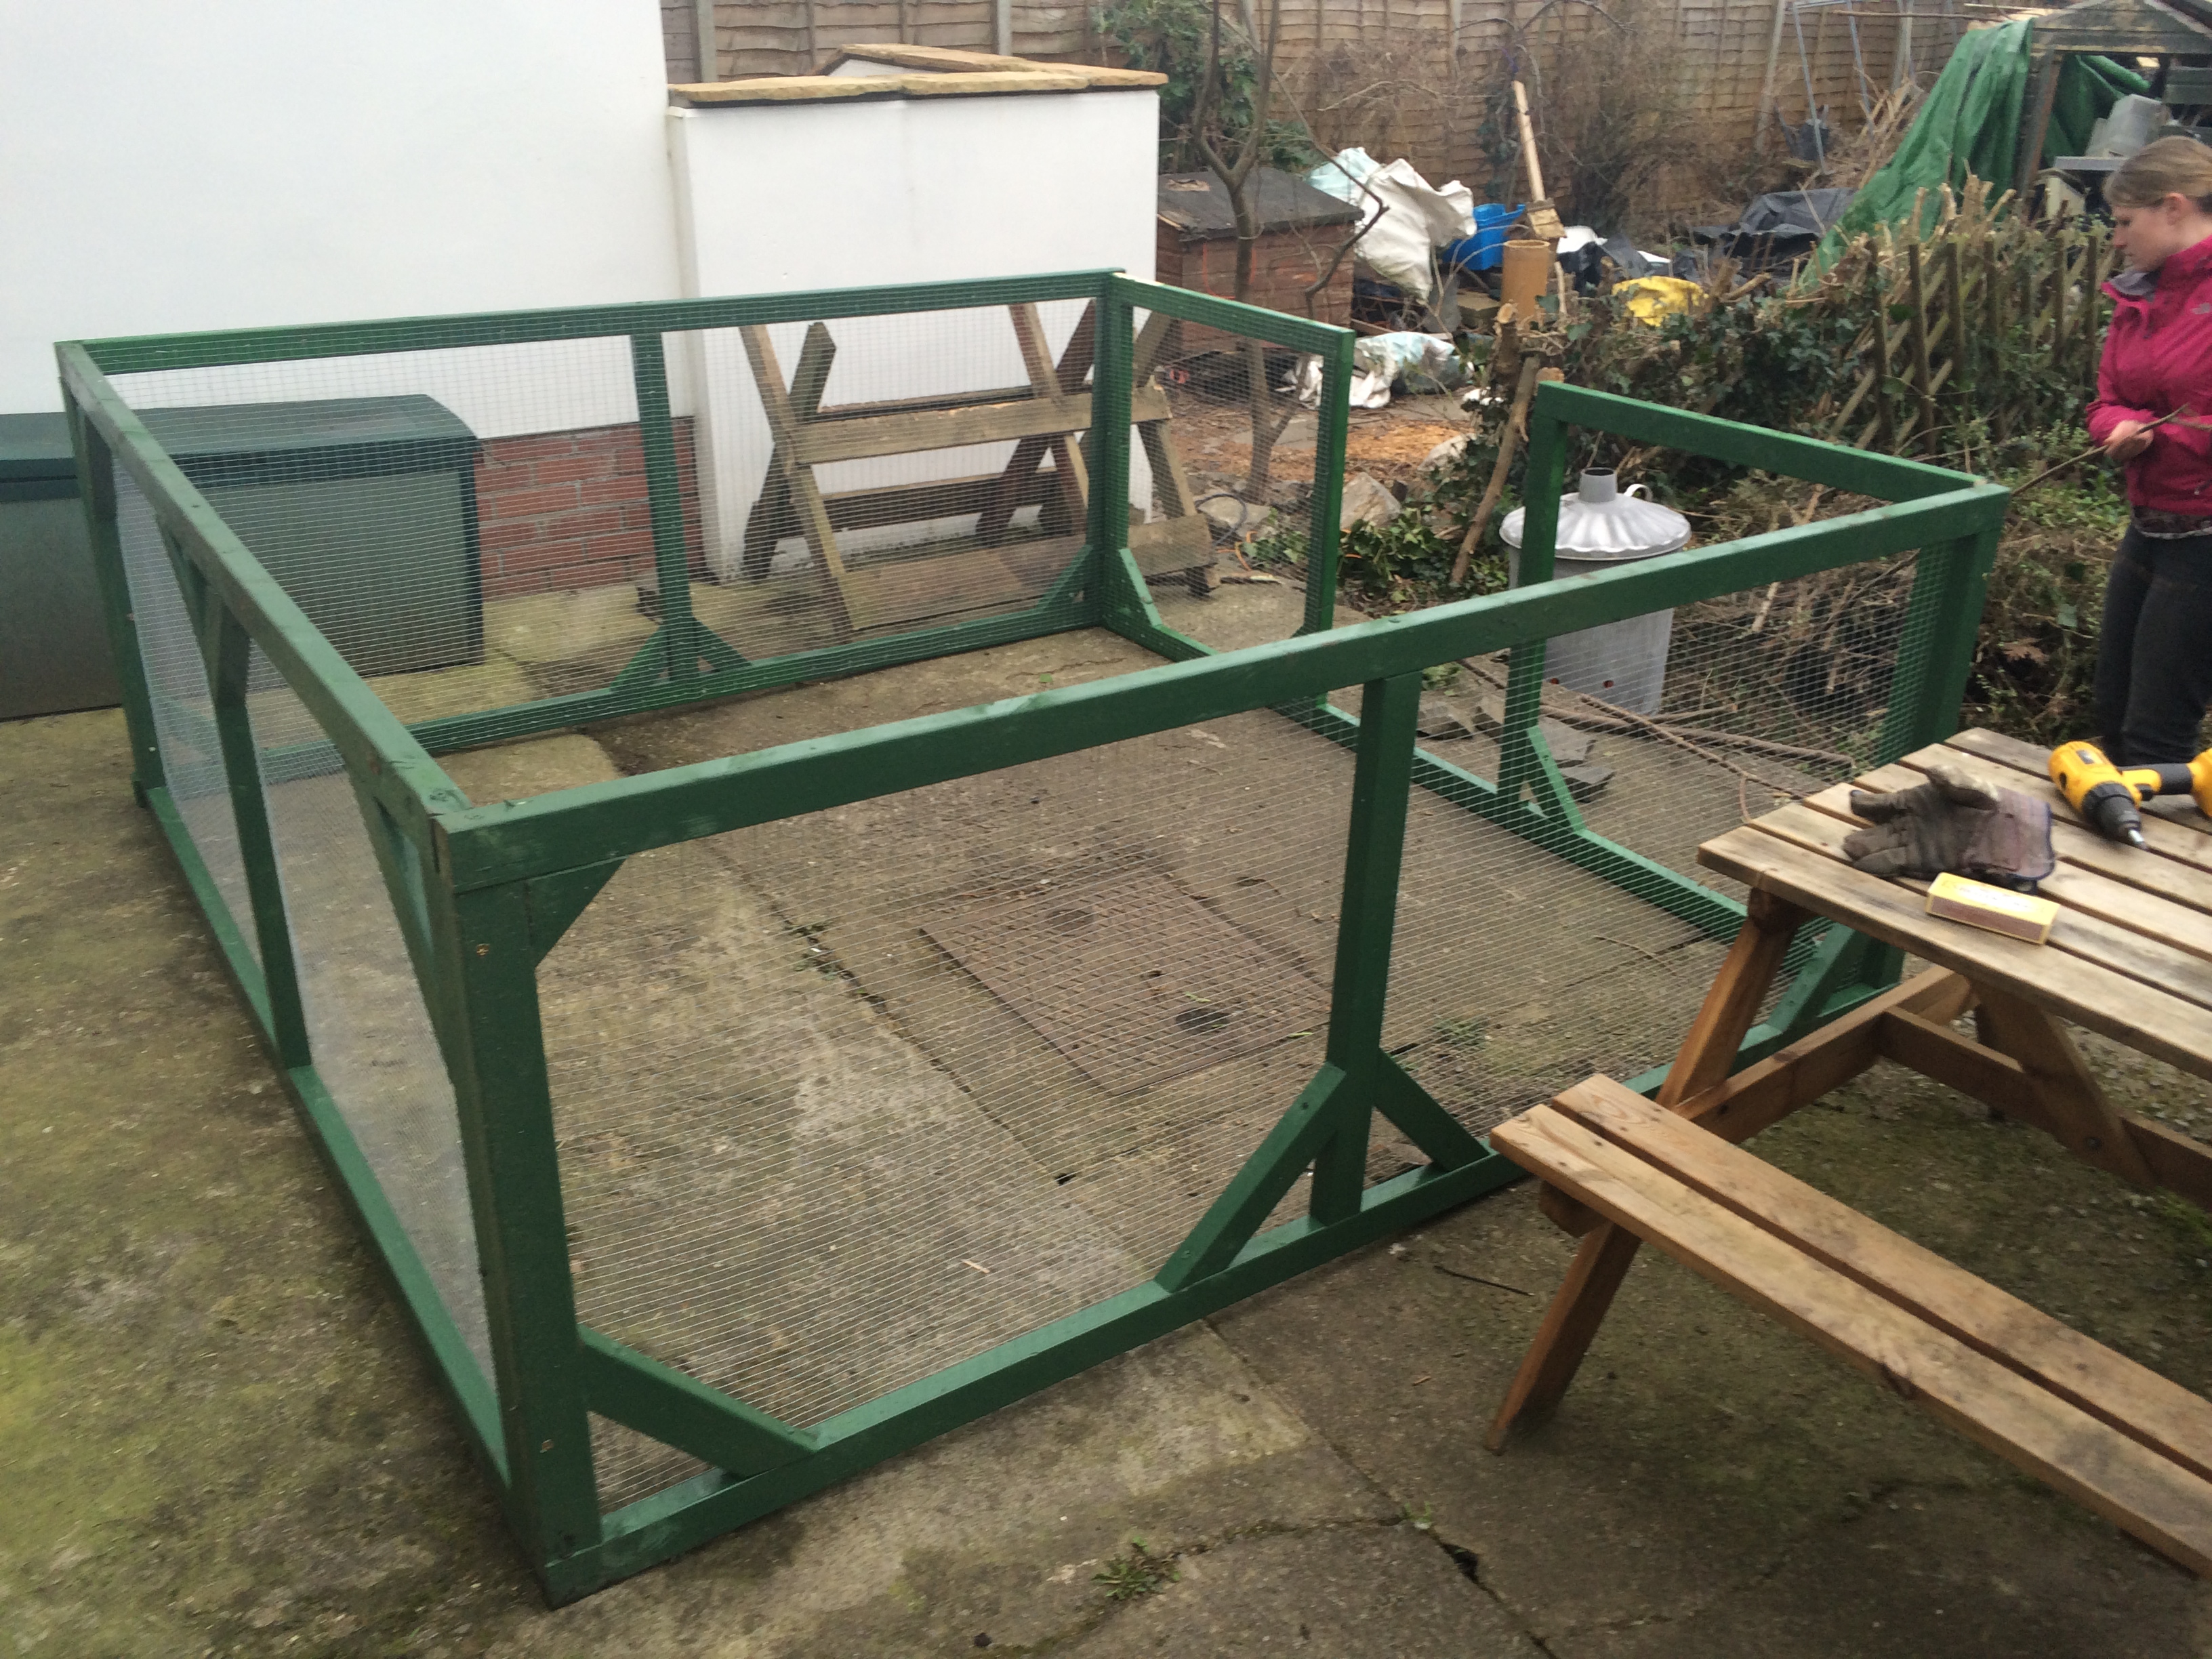
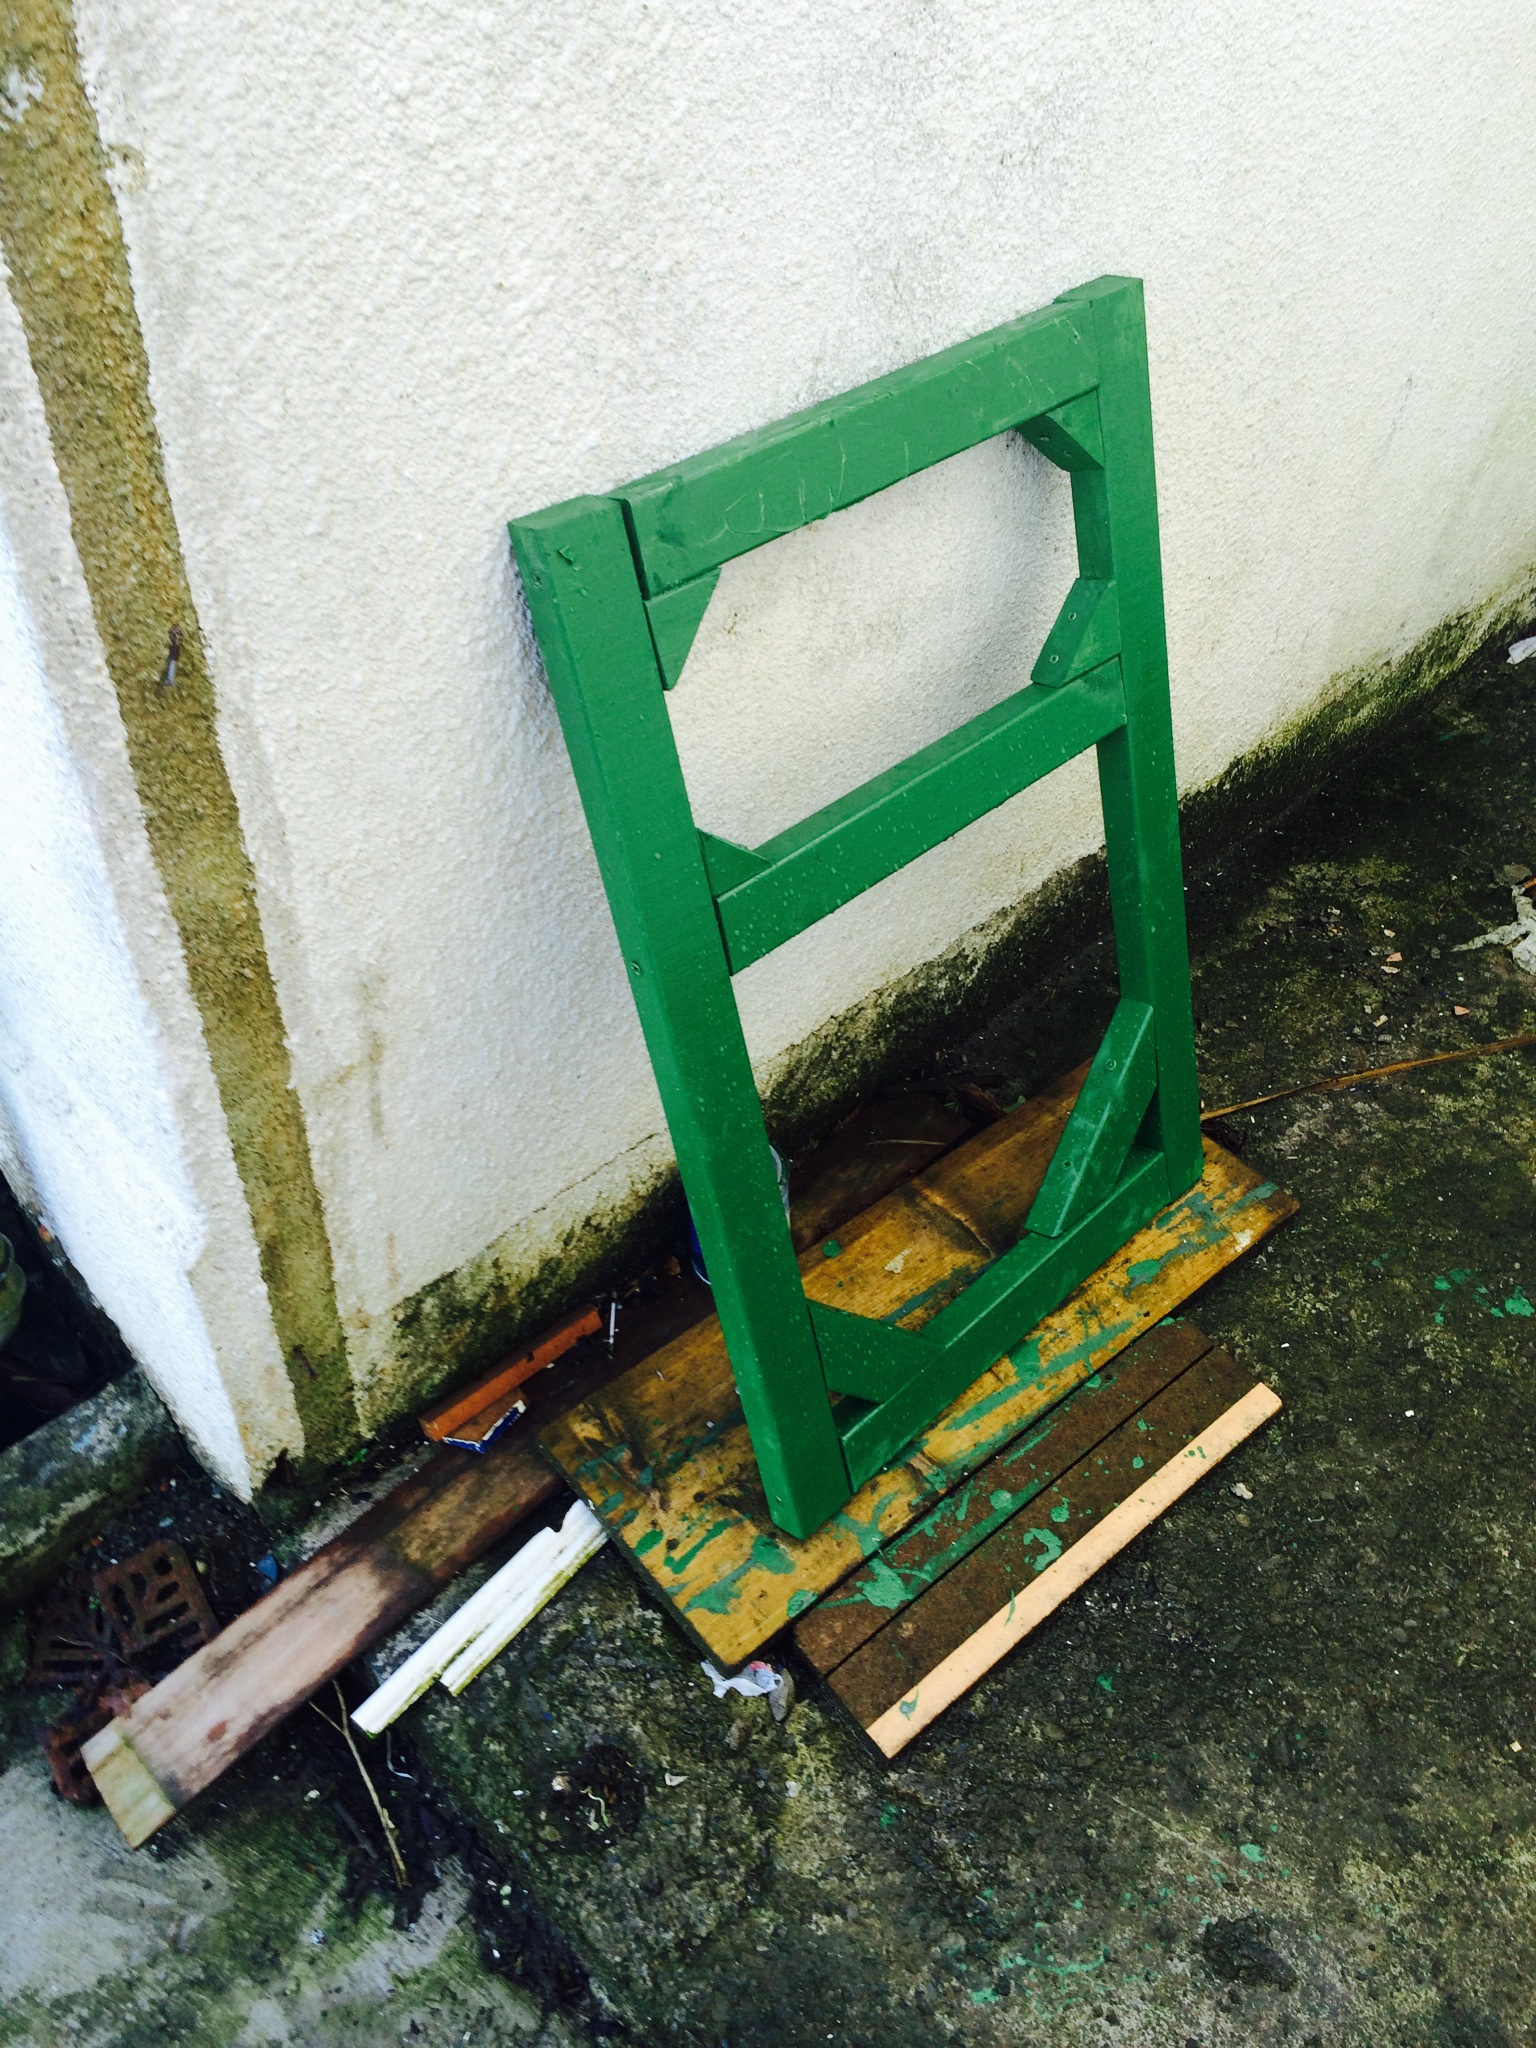
Once home, I made my first two panels.
The truth is, I hadn't really decided how I was going to make this. I just knew I needed to make the panels. Then....came two months of rain. I got very little done.
The SUN!!!!
With an hour of daylight after work each day for a week, along with two weekends, I was able to put things into motion as the pressure from some crazy chicken escapes and some damage caused by the storms meant that we had kept the chickens in the Omlet coop for two weeks. They were going a bit crazy.
So in the evenings I was able to get the panels together, along with a space for the door. At this point I still had no idea how to do a roof....or a door....or how I was even going to join the existing coop to the extension. I didn't worry about all that too much...I just did what I was good at, making panels.
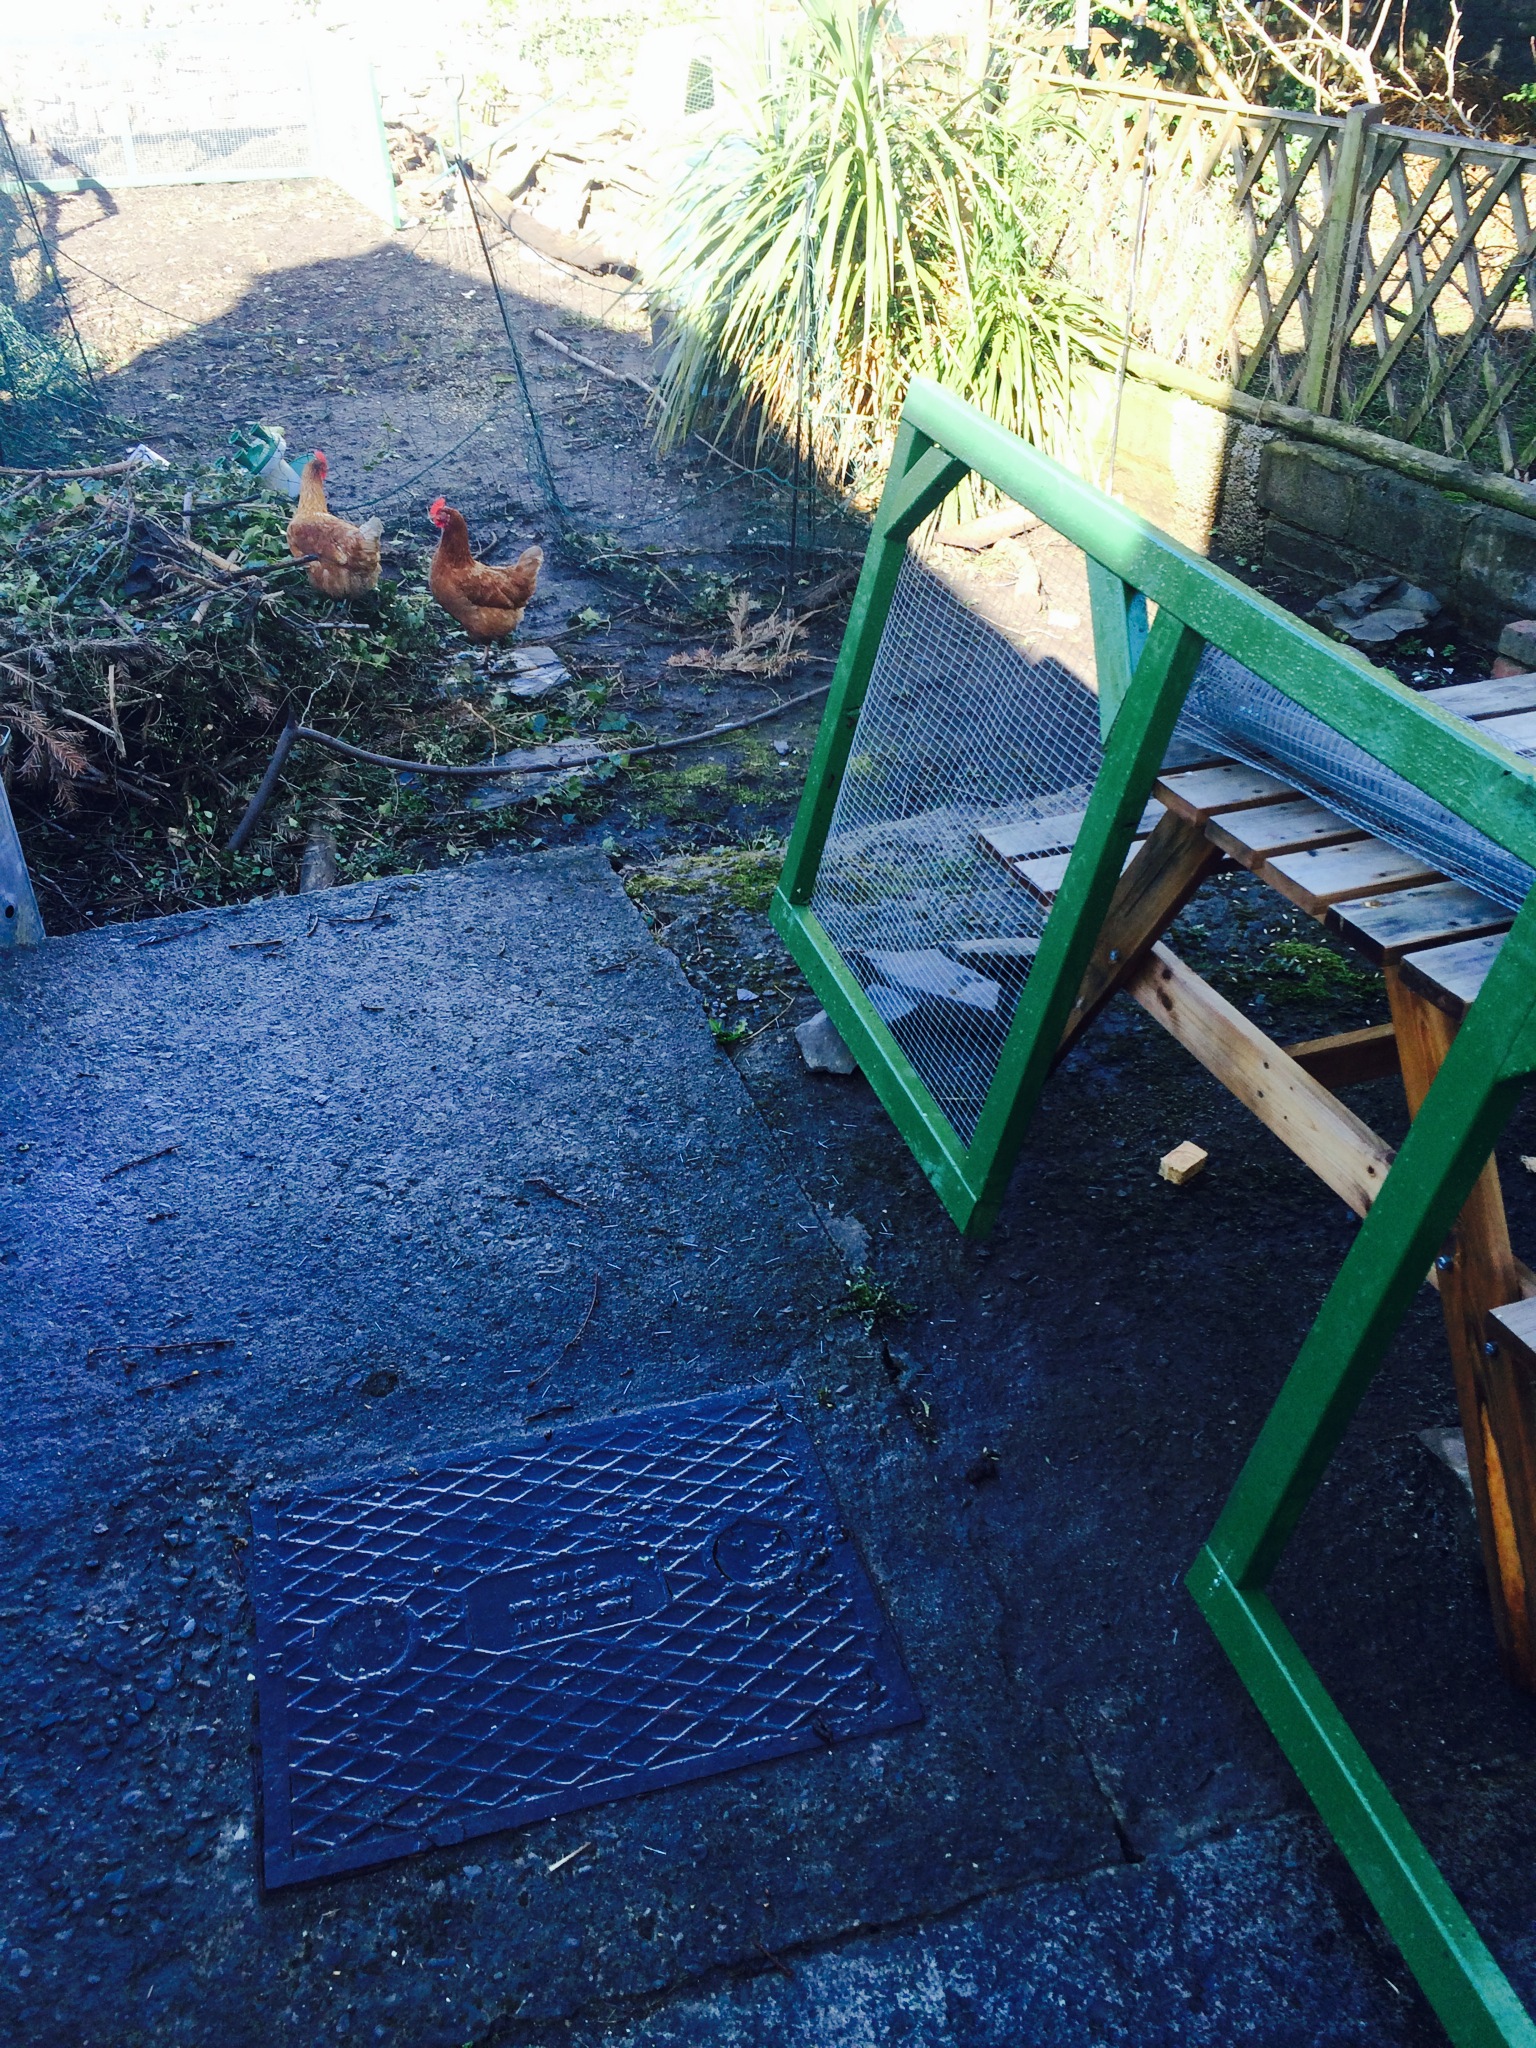
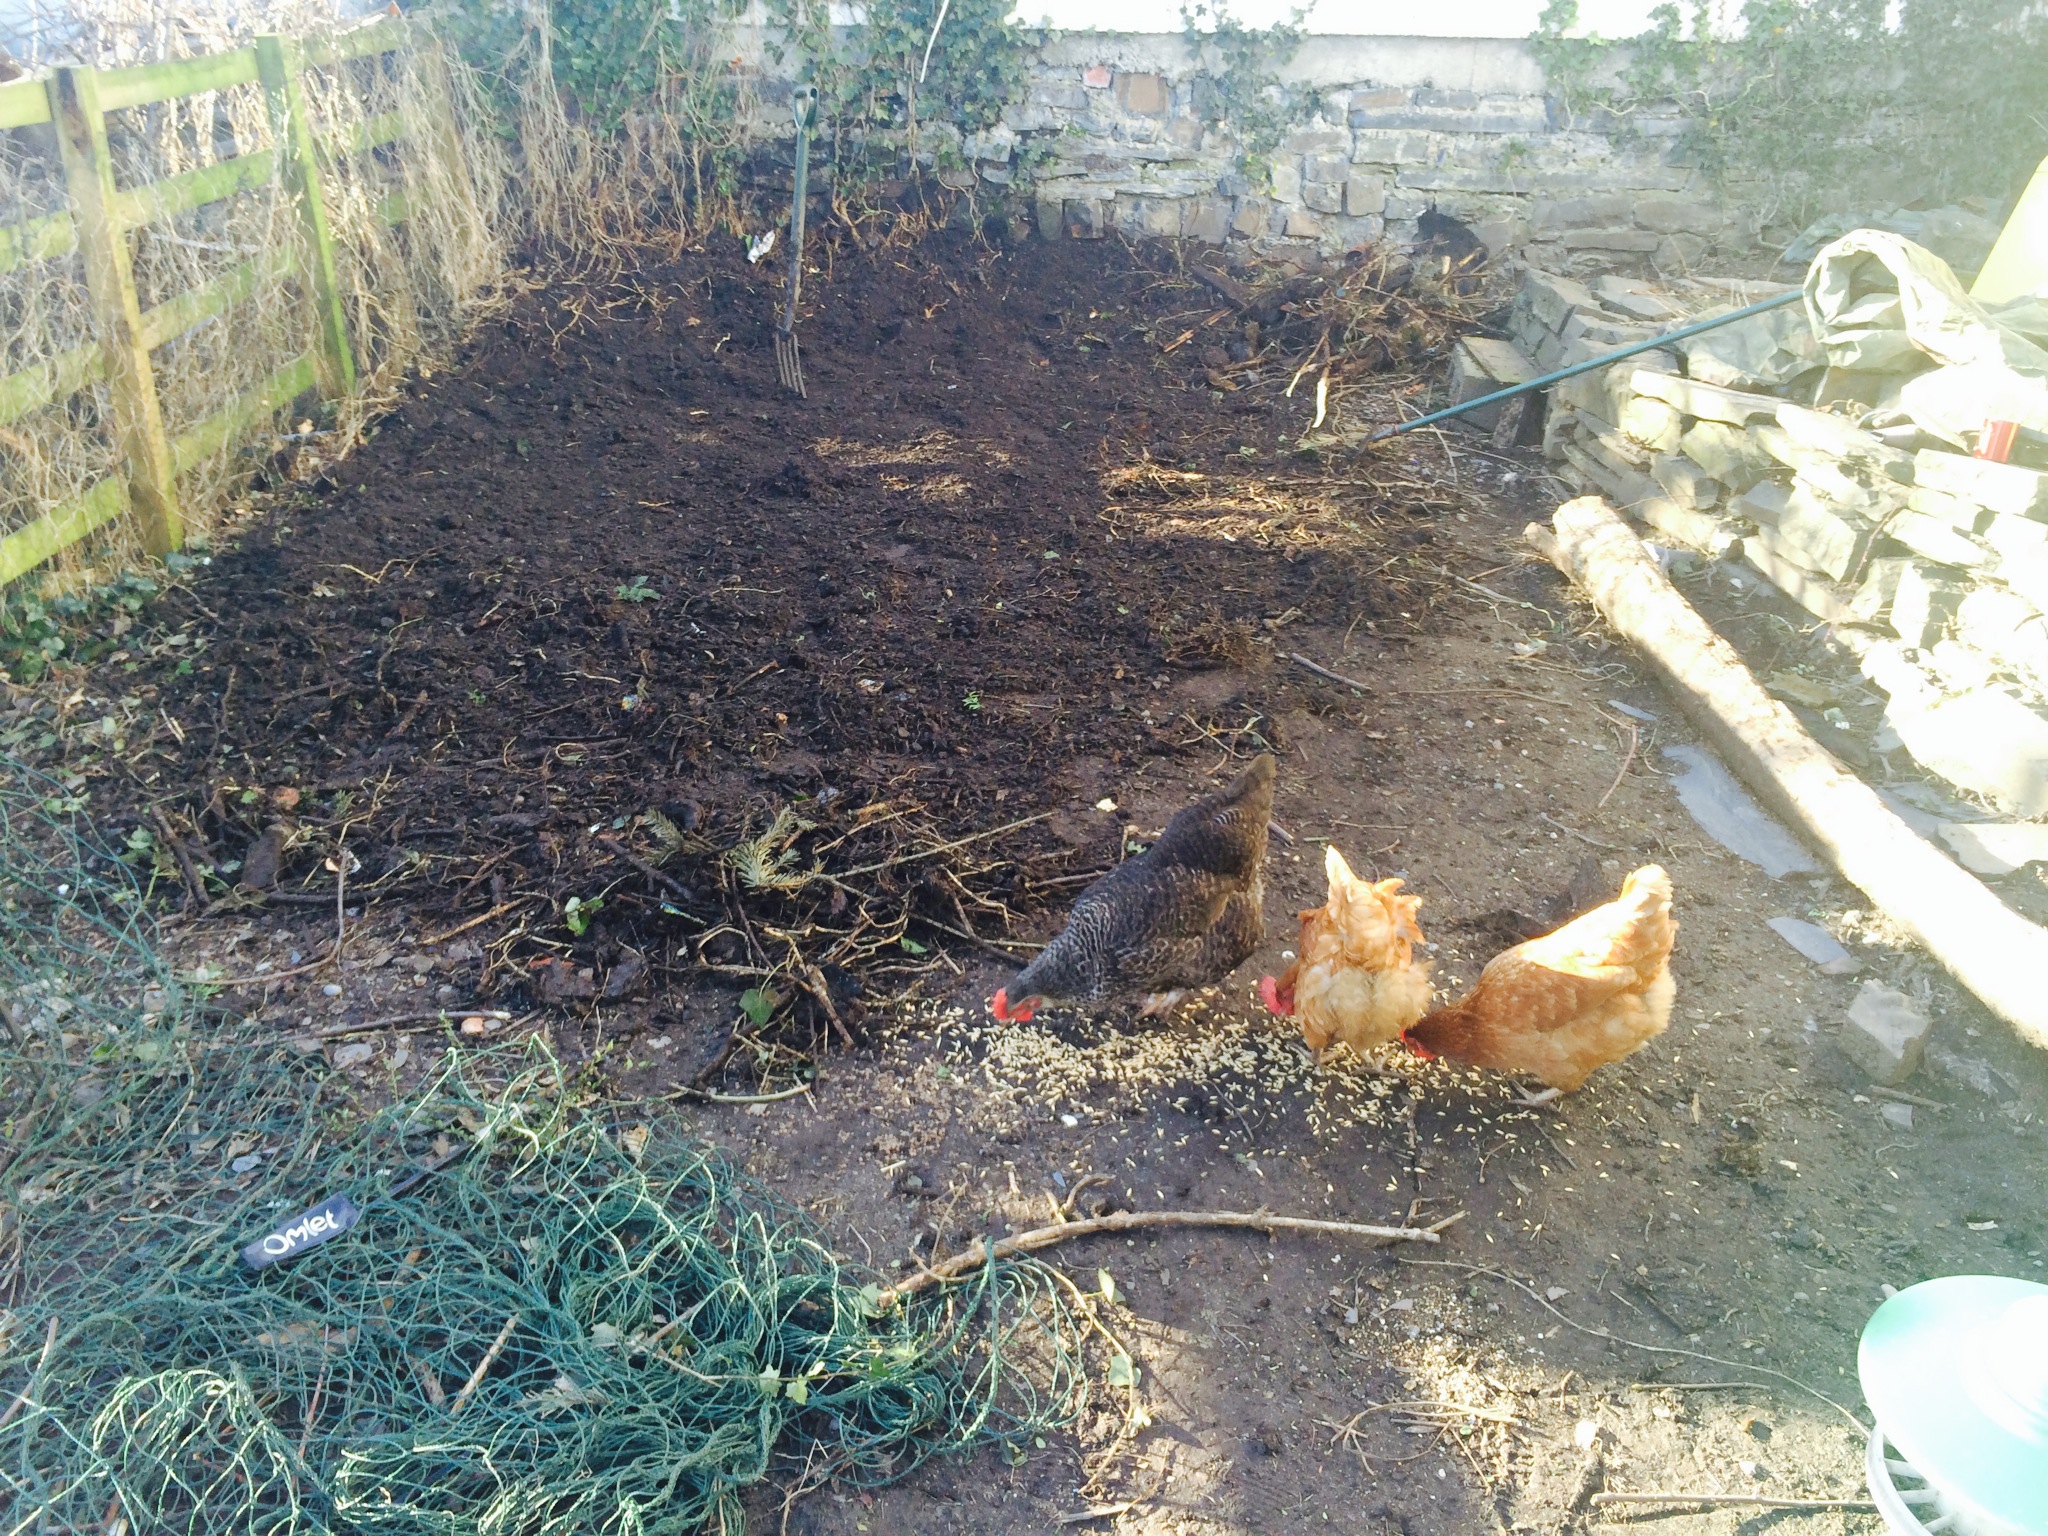
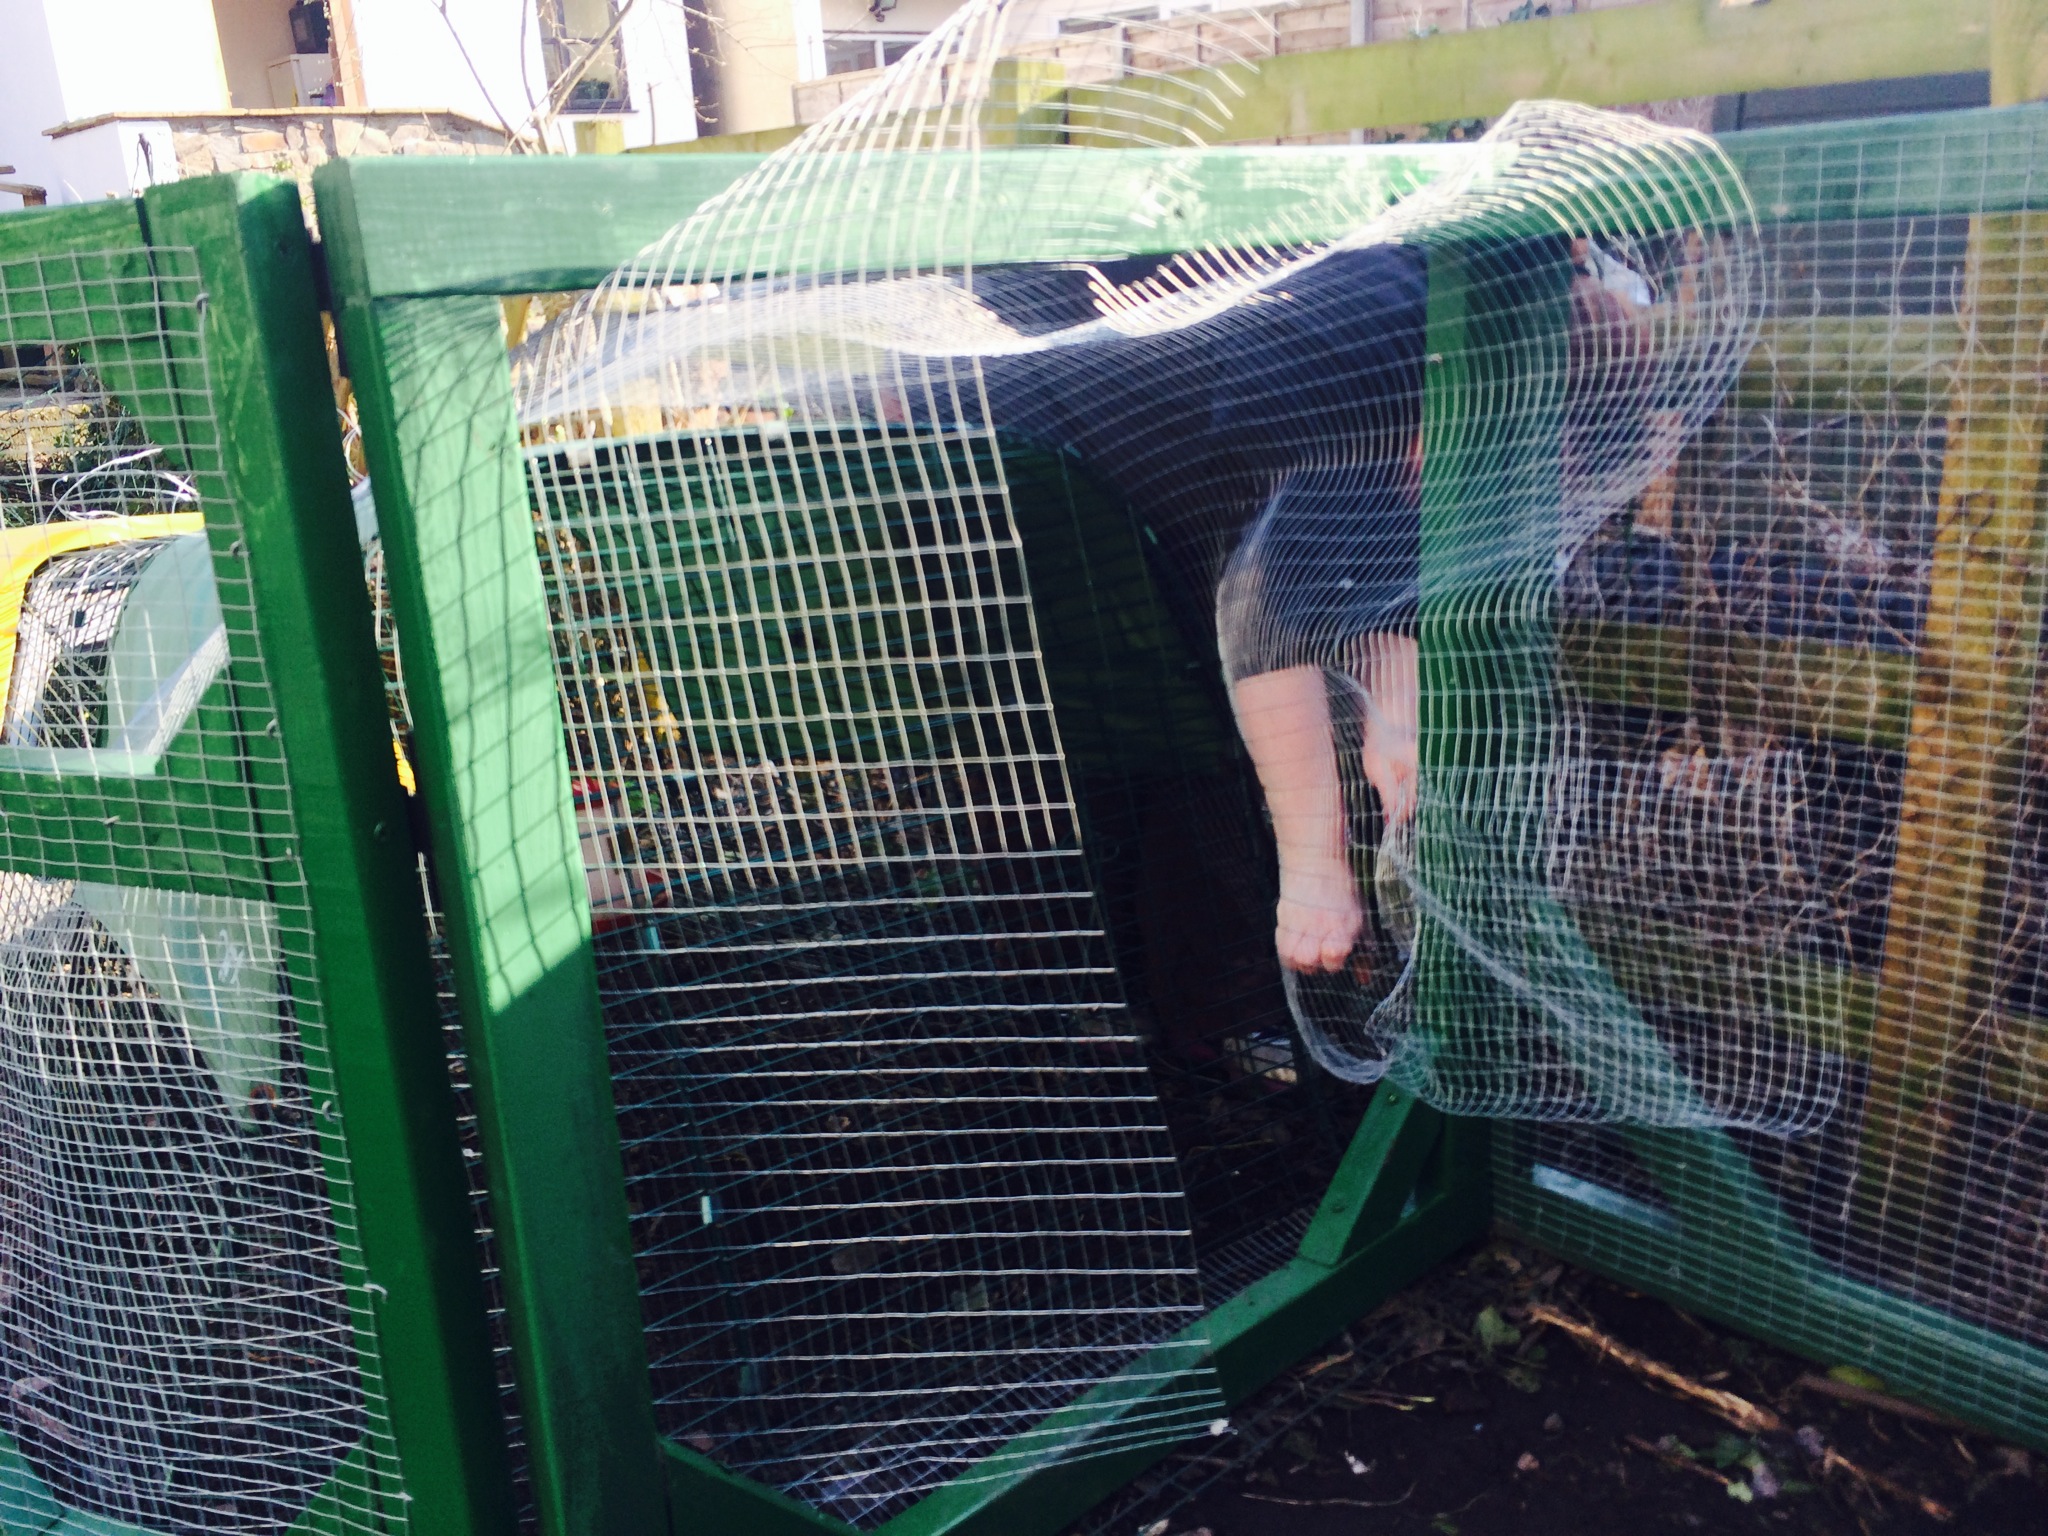
With a little help from the chickens, the garden was then cleared for the coop to be placed and I put it up so at least I could work out what to do with it.
Oh, and I made a door (you may be able to tell, I didn't take photos showing all elements of the build)
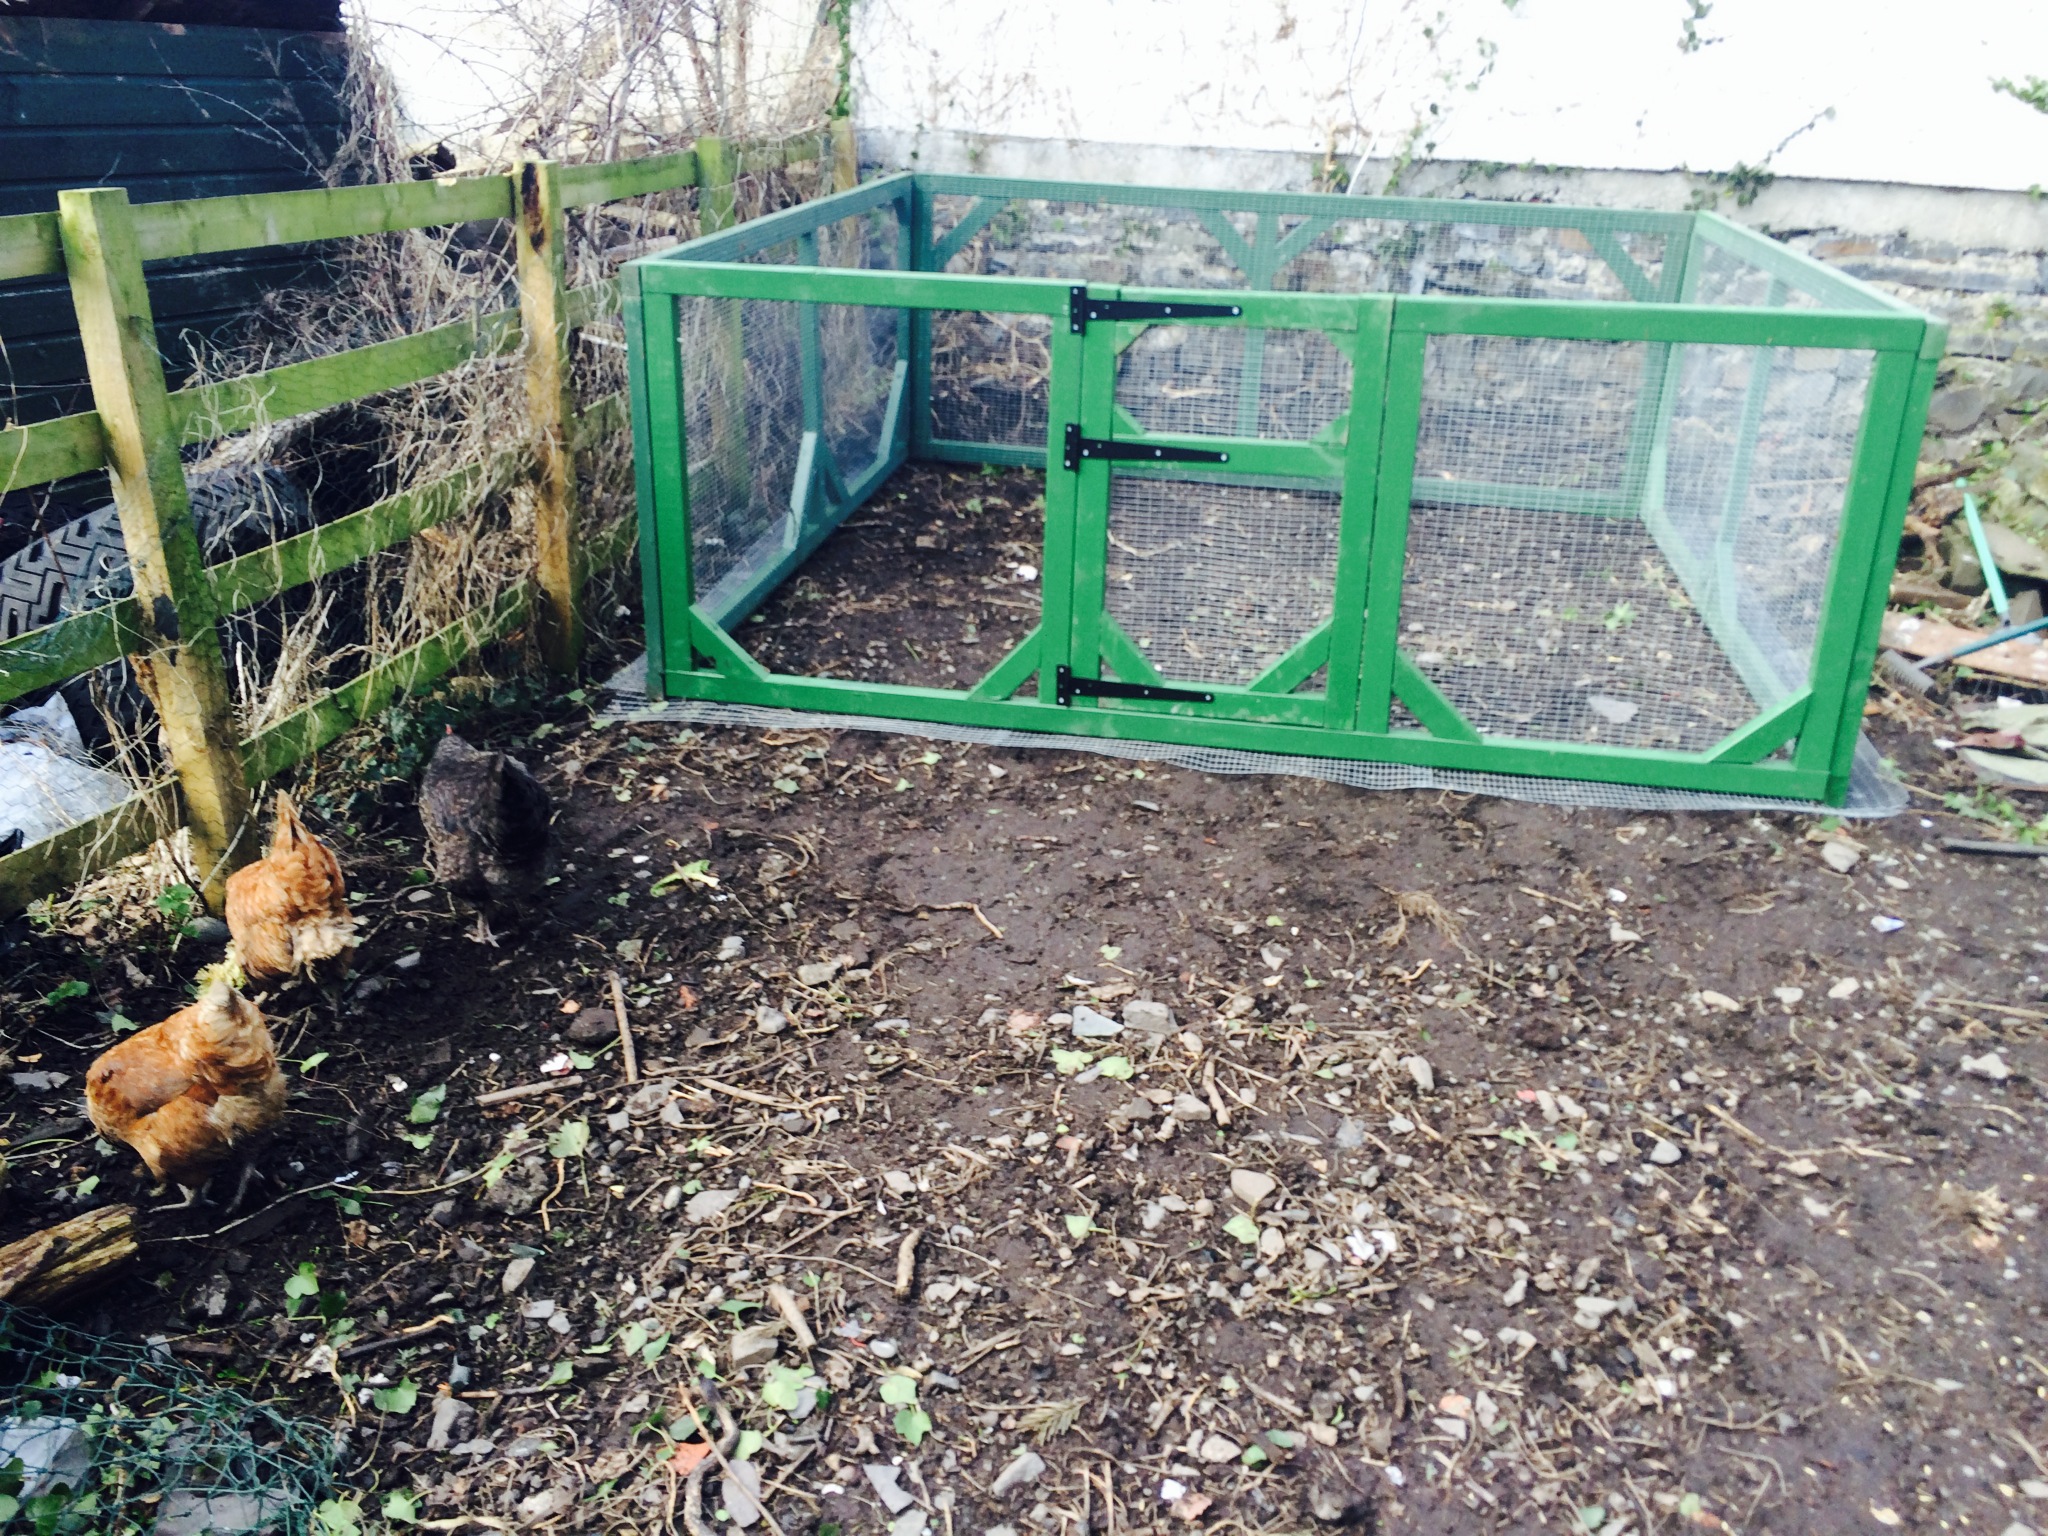
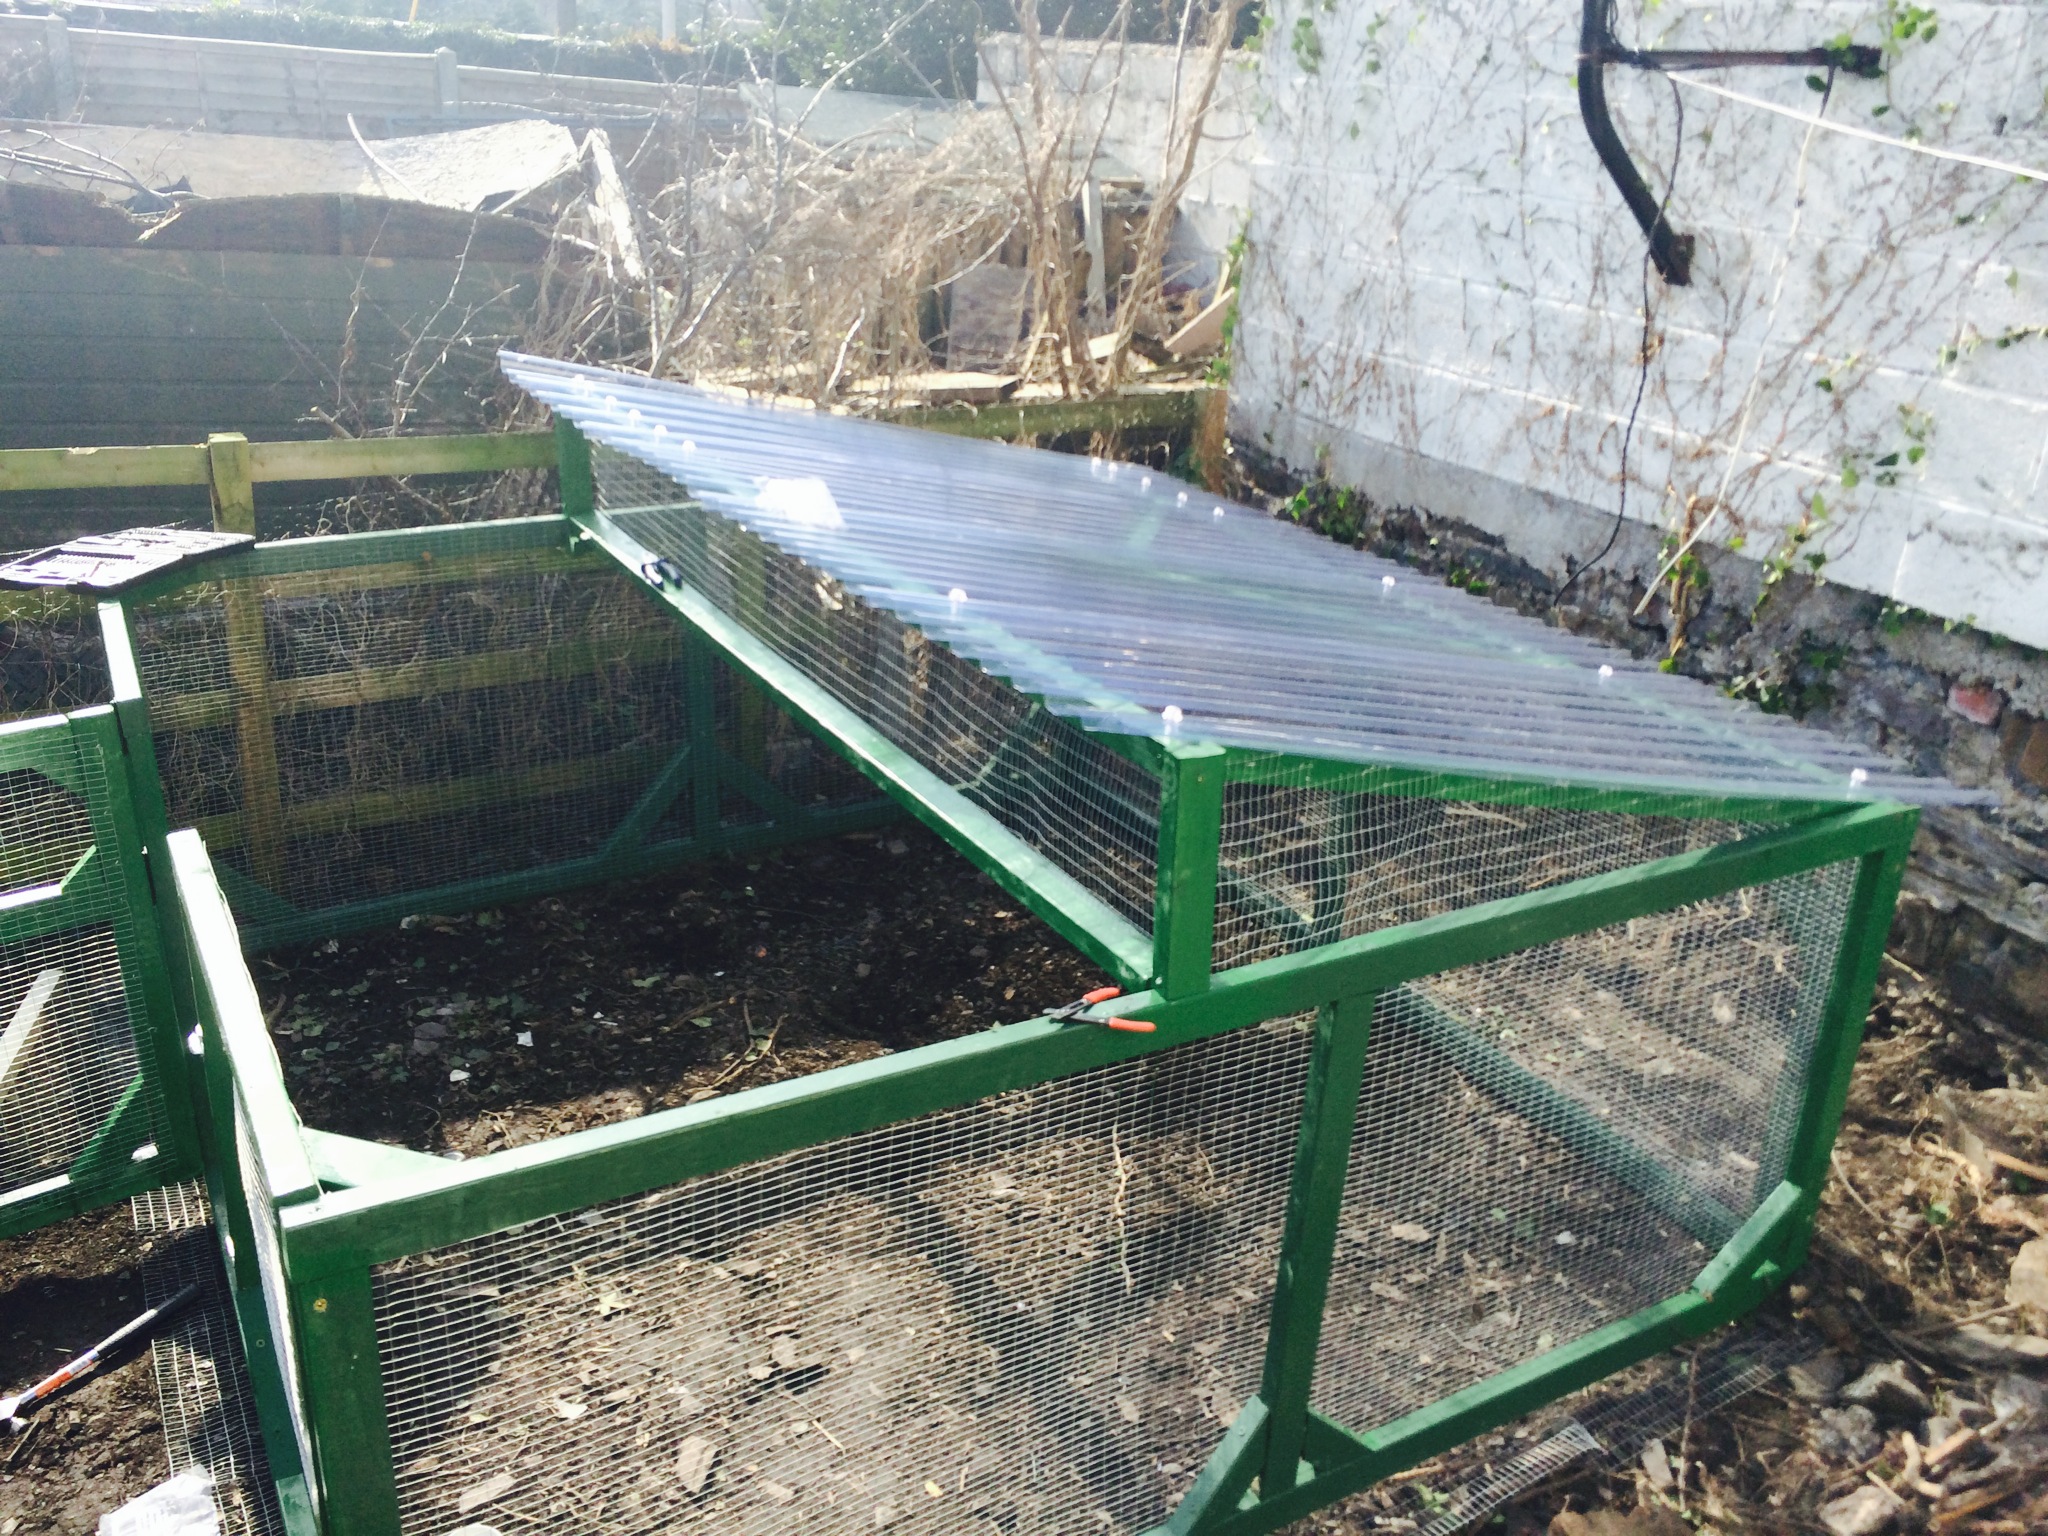
Then there was a roof
I got four sheets of corrugated PVC and yet more wood (this time I had to walk with it back from B&Q because I didn't have the car) I was able to put this together. By this point, the most tedious part was cutting the wire. It took forever. Once the Omlet coop was put in place, my neighbour (Johanna) and I were able to use a sheet of wire to feed through the hole I had left next to the door. Then, Johanna used her wealth of sewing knowledge to 'sew' the wire sheet to the existing coop using steel wire.
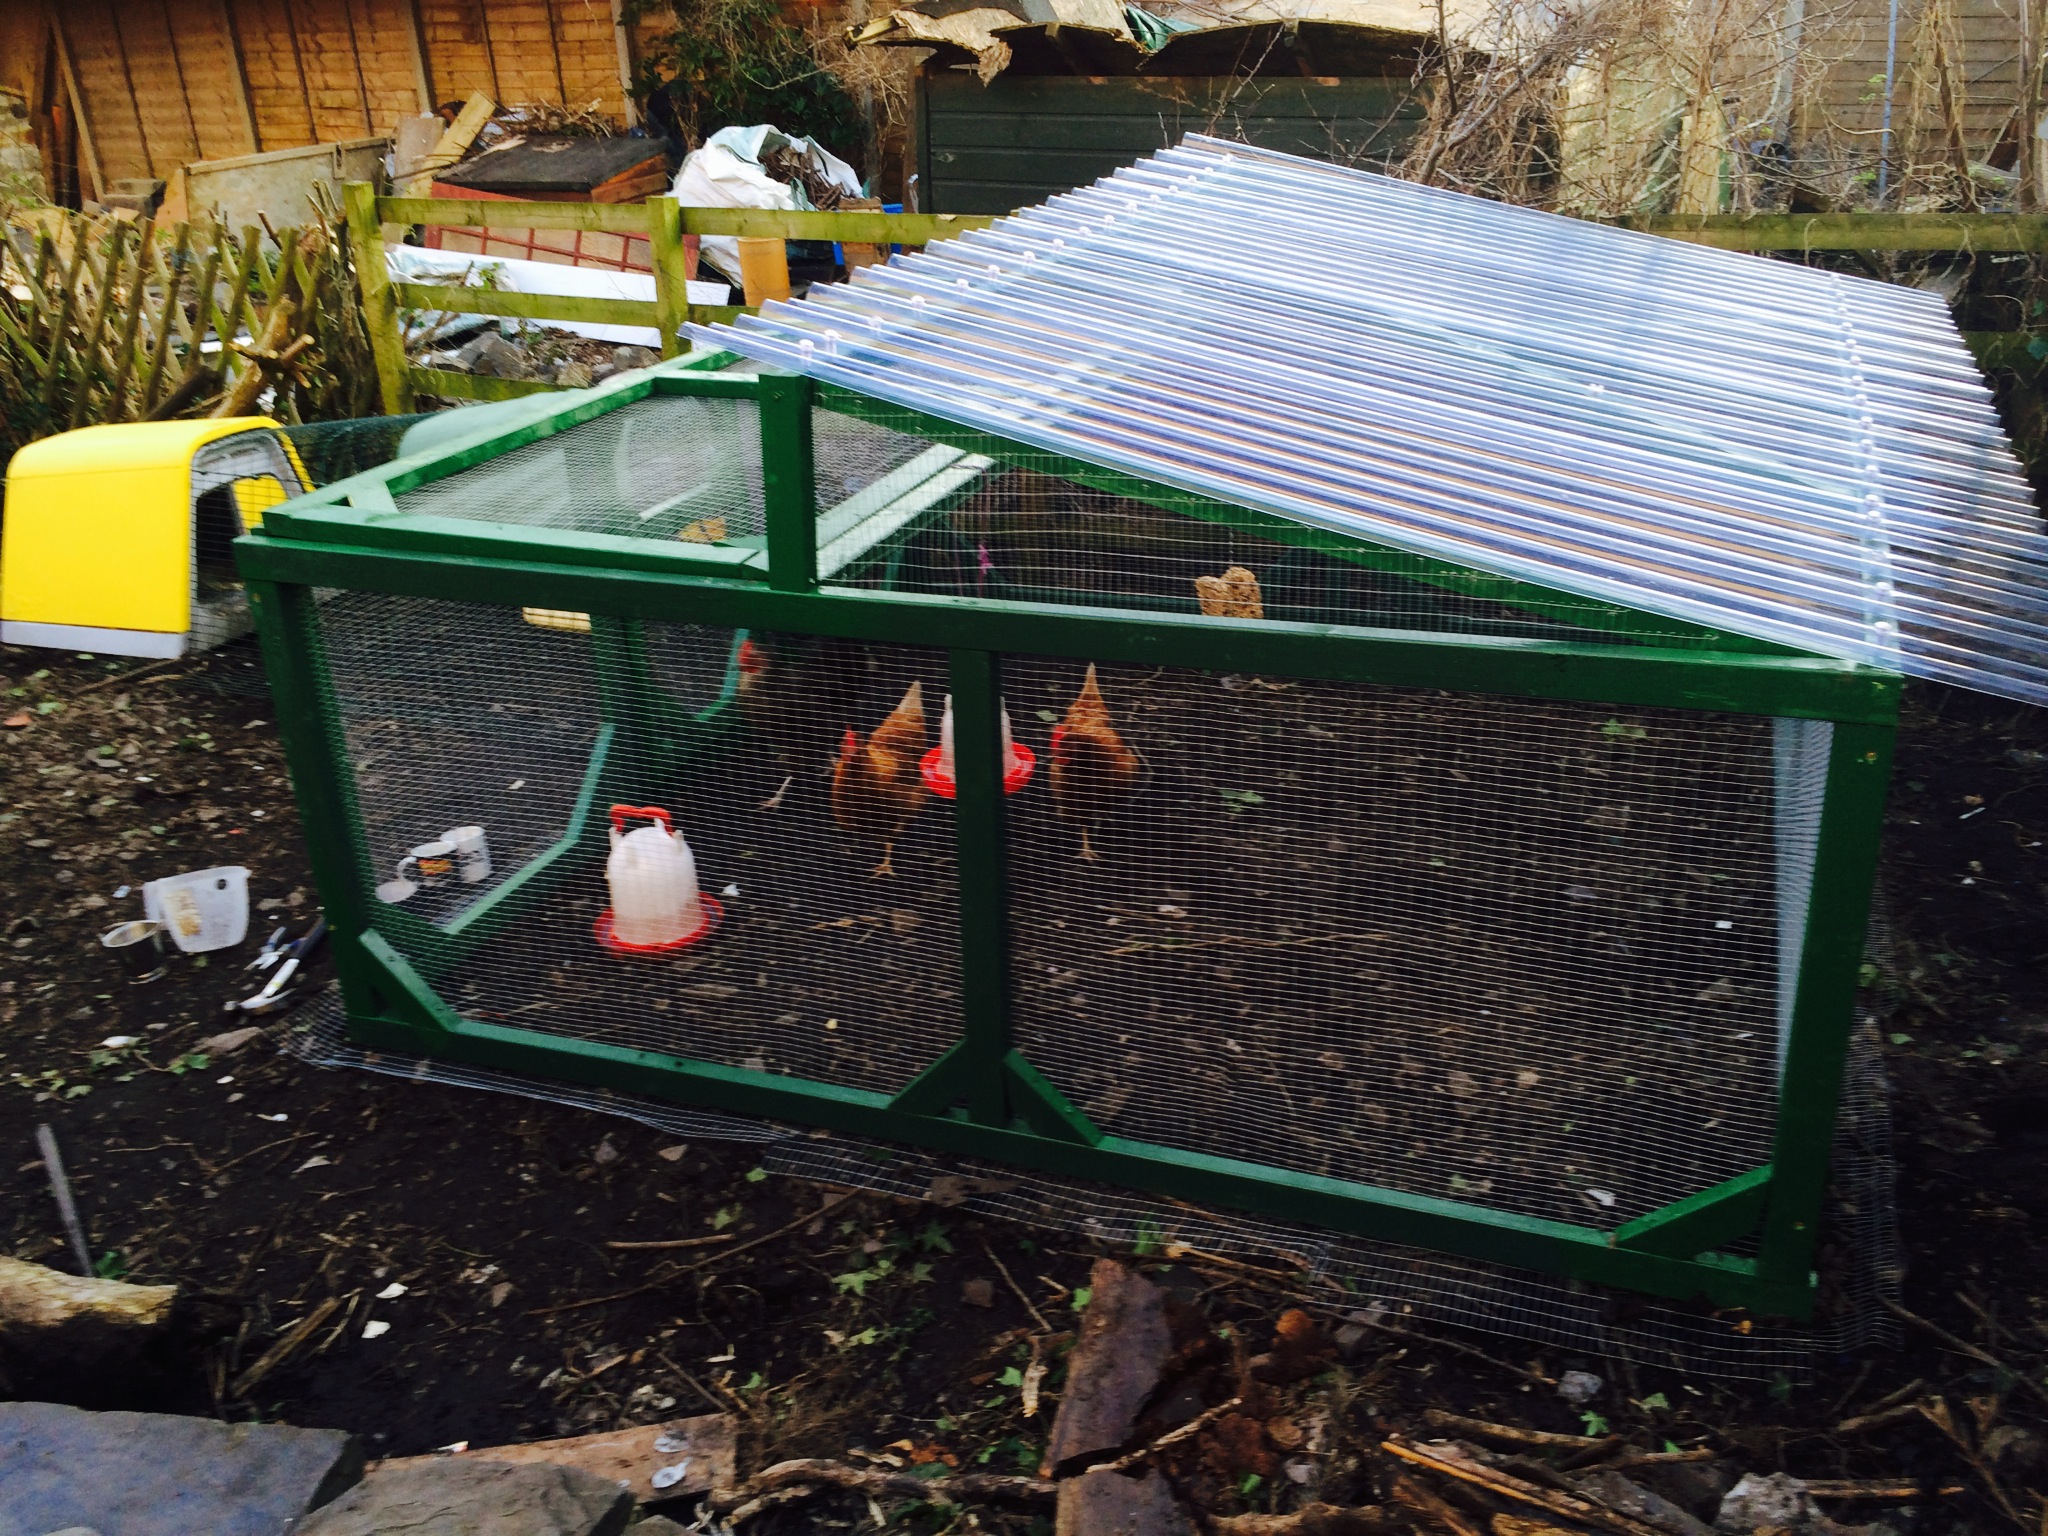
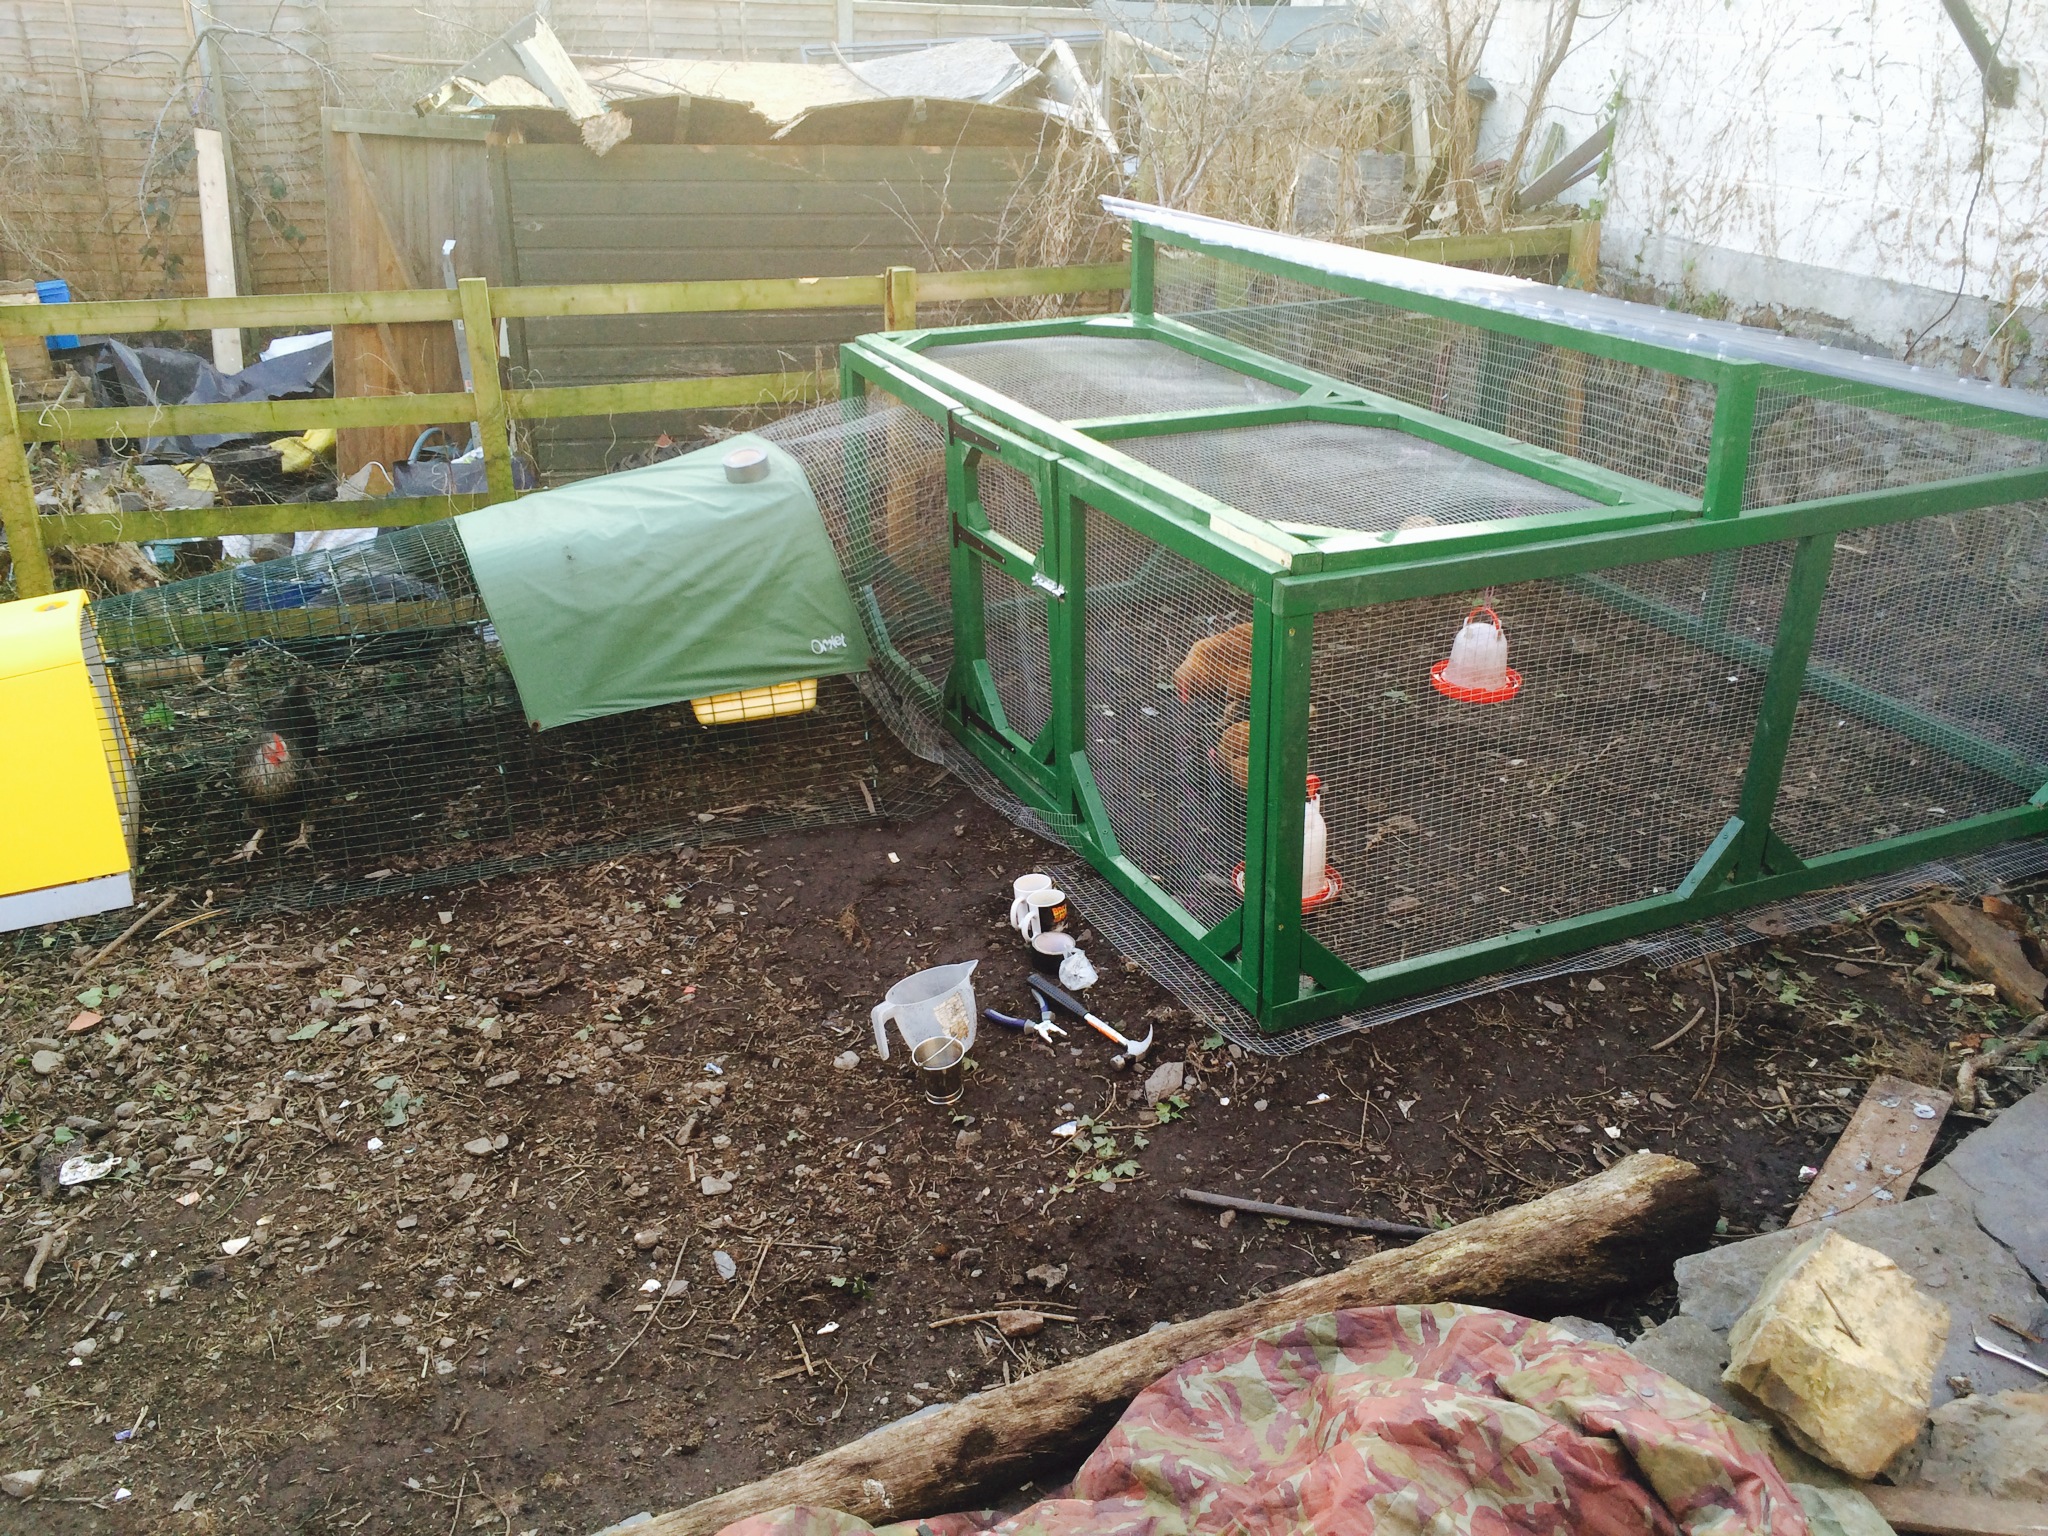
Finally, I made another one of the panels to put over the front part that can be taken off so that we can get inside it without having to duck into the coop. So there we go, a DIY extension to the Omlet chicken coop. Oh, and you may notice that I copied the fox protection idea from the existing coop so hopefully they will be safe. All that is left to do do now is to furnish the inside, possibly making it multi-level.